
Do You Need a Heat Gun to Tint Windows: 6 Reasons [Explained]
TheToolGeeks.com is a participant in the Amazon Services LLC Associates Program and other affiliate advertising programs. We may earn from qualifying purchases. (Learn More).
Adding tint to your windows is a popular way to customize them, and enthusiasts like using heat guns to ensure they apply it evenly to curved surfaces. But do you really need a heat gun to apply tint to your windows?
While a heat gun is not necessary for applying tint on flat surfaces, it can be an invaluable tool when working with curved surfaces such as car windows. Applying tint without a heat gun can lead to imperfections in the finished product, hence making the proper use of a heat gun essential for achieving the best results.
Today we will explore why you might need a heat gun to affix car window tint and how to use one properly. We’ll also provide helpful tips on selecting and using the correct type of heat gun for your project. Keep reading to find out if a heat gun is necessary for window tinting.
Why Do You Need a Heat Gun to Tint Windows: 6 Reasons
Heat guns are one of the essential pieces of equipment used in window tinting because they can provide the necessary heat and adhesion. Here are some key reasons why you may want to use a heat gun to tint car windows:
Improved Adherence
You should use a heat gun to activate car window tint film adhesive because it generates enough heat. This activation helps to ensure that the film adheres appropriately and securely to your windows for long-term use.
Also, using a heat gun and a squeegee helps spread the adhesive evenly across the window surface before applying the film, making it easier to get an even finish once installed.
Easier to Manipulate
Using a heat gun when applying window tint also makes it easier to work with the vinyl film since it helps soften and relax it so that you can easily shape it around edges or corners without damaging it.
Using the adjustable temperature settings, you can find just the right amount of heat for each specific application, so as not to damage or warp any parts of your window frame while still applying the tint film evenly.
Greater Durability
Using a heat gun during car window tinting will also give you greater durability when removing or replacing your window tint films. Since a heat gun activates both the adhesive and plasticizer already found within the film, this ensures that your final result is strong and resistant to wear over time.
This ensures that all of your hard work is kept intact through everyday use so that you don’t have to worry about constantly repairing or replacing any aspects of your finished product anytime soon.
Faster Installation
Heat guns are ideal for car window tinting because they provide an efficient way to install the film. These guns use hot air to soften the material, making stretching around corners and contours easier without tearing or wrinkling. This method makes installation much faster than doing it by hand, since the film sticks better.
Also, a heat gun helps ensure that every part of the film has been properly sealed, meaning there won’t be any gaps or bubbles when you’re finished applying it.
More Precise Shaping
Working with a heat gun allows professionals and DIYers to shape film precisely around windows and other curved surfaces. The hot air from the gun softens the material, allowing it to bend and conform easily to any shape desired without tears or creases.
This level of precision is impossible with manual installation methods because it takes too long and is more likely to cause damage or imperfections.
Better Results
Most importantly, using a heat gun ensures that your car window tinting looks as close to perfect as possible once it’s installed. All wrinkles, creases, and air bubbles are eliminated due to its precise application method, which produces clean lines and smooth surfaces after installation.
Plus, since the film adheres better when heated up first with a heat gun rather than manually applied with solution only, its durability increases significantly over time leading to fewer maintenance headaches down the road compared to those installations done manually without a heat gun.
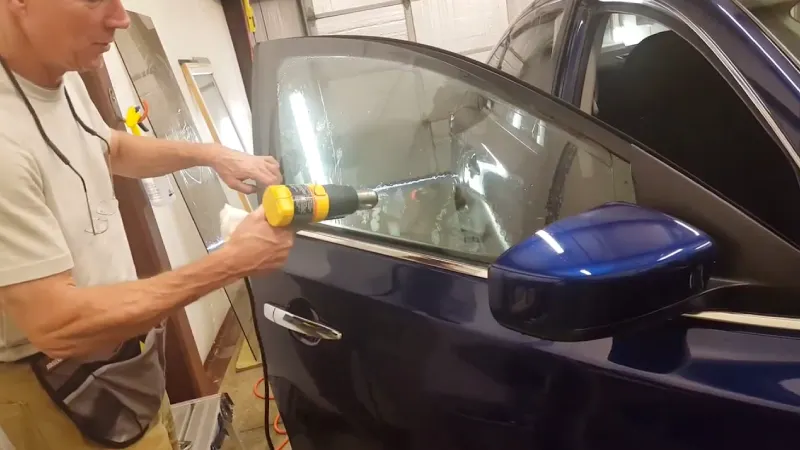
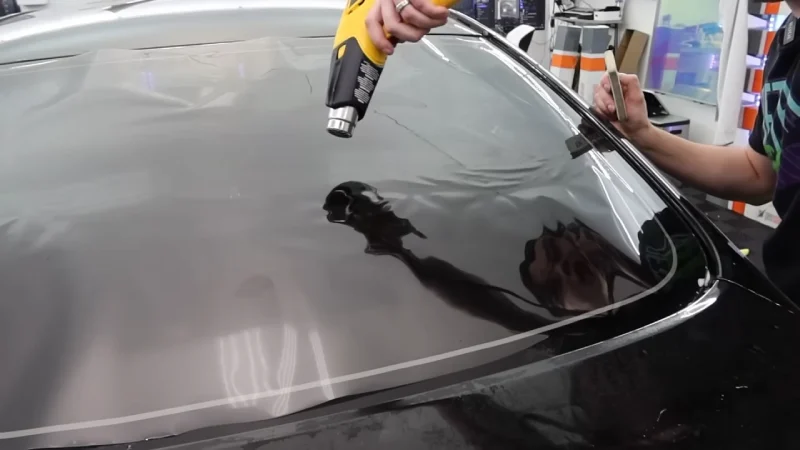
How to Use a Heat Gun to Tint Vinyl Wrap Windows
Using a heat gun correctly will ensure a professional finish and excellent adhesion while tinting windows with a vinyl wrap. Here’s how to tint vinyl wrap car windows using a heat gun:
STEP 1. Clean the Windows Thoroughly
Cleaning your window thoroughly before applying the vinyl wrap ensures long-lasting adhesion. Start by taking a damp cloth or sponge and applying it all over the window, wiping away any dirt, dust, or debris.
After that, wipe the surface down with a car window-cleaning solution to remove any grease or other contaminants. Make sure the window is completely dry before moving on.
STEP 2. Measure and Cut the Vinyl Wrap
Once you have cleaned your car window and allowed it to dry completely, measure the width and length of each window pane you want to cover with a tinted vinyl wrap. Taking accurate measurements will ensure you don’t have too much excess material to be trimmed later.
Cut out enough pieces of vinyl wrap to slightly overlap each window pane’s edges by around half an inch(1 cm).
STEP 3. Peel Off the Backing Paper
Peel off the backing paper carefully from one piece at a time so as not to stretch or tear the vinyl wrap. Afterward, lay the exposed side of each tinted vinyl wrap directly onto its respective window pane, ensuring no bubbles are beneath it.
If any bubbles are present, press them out gently with your fingers. If needed, use some additional water for easier manipulation.
STEP 4. Apply the Vinyl Wrap
Before applying heat, ensure no air bubbles remain visible beneath each piece of vinyl wrapping, as this could eventually ruin its overall effect. Take your heat gun and slowly heat each piece in circular motions starting from its center outwardly to activate the adhesive.
Apply public pressure for better adhesion throughout its entirety but do not let it get too hot. Otherwise, you may damage the adhesive layer and potentially warp or distort certain areas, particularly near its edges.
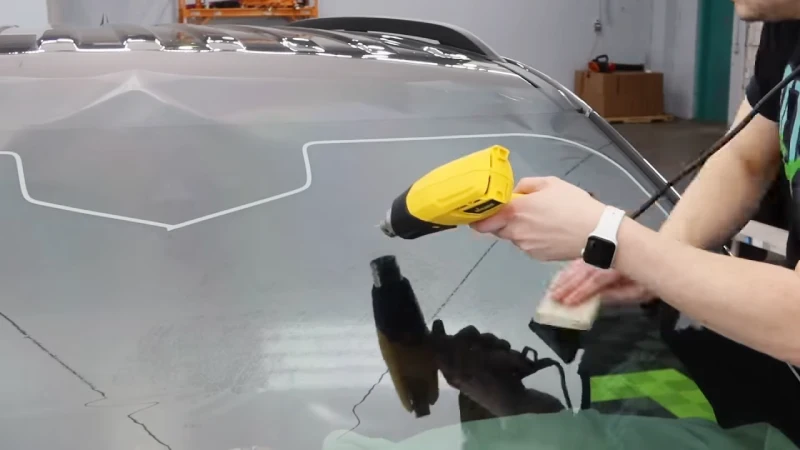
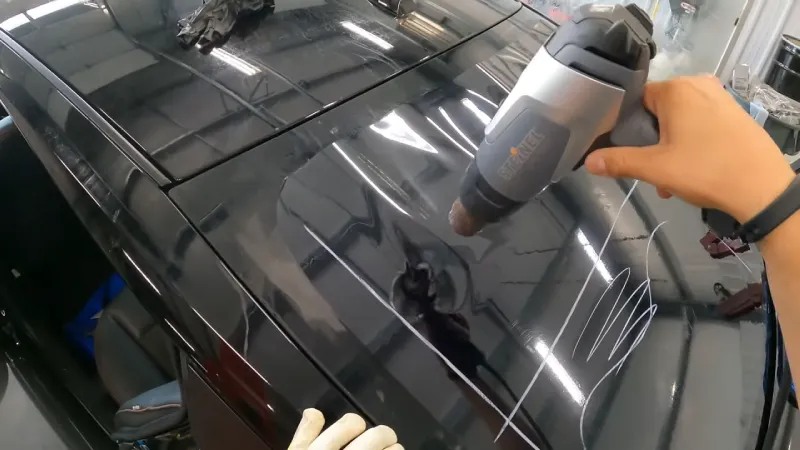
STEP 5. Shape the Vinyl Wrap
After the adhesive has melted and the vinyl wrap is secured, shape each piece to its respective car window pane’s shape with your heat gun. Begin by using either a wooden or plastic tool to push down any excess material that may be present gently.
Tracing around the car window using a marker might be helpful to ensure an even fit, then cut into the shape of each pane after applying the vinyl wrap.
STEP 6. Trim Excess Vinyl Wrap
Now that all of your vinyl pieces have been shaped and applied to each car window frame, it’s time to start trimming off any excess material beyond the edges of each window pane frame. This can be done with either scissors or a sharp utility knife, depending on what tools you have available at hand.
When cutting along the edges of each pane, make sure not to press too hard so you don’t damage any surface material beyond what you want trimmed away. After all excess material has been trimmed away, use something soft like cotton cloths or paper towels to smooth down any wrinkles in the wrapped vinyl material.
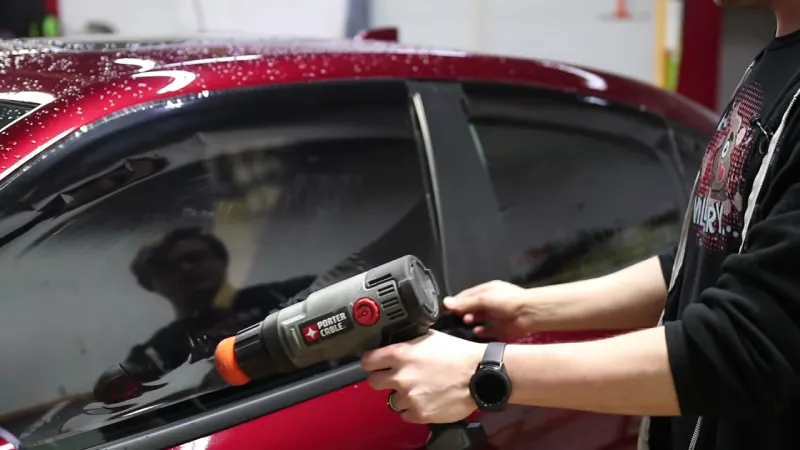
Which Type of Heat Gun to Use for Tint Car Window Film?
When tinting a car’s windows, the type of heat gun you need depends on the thickness and type of film being applied. Generally, a heat gun with 1200w to 1800W power is used for heavier films such as ceramic tints, while lighter films such as metalized or dyed films require a lower wattage.
Heat guns should be set at no more than 122℉~1202℉ (50℃- 650℃) when working with window tints. This temperature setting prevents the film’s scorching, which can cause discoloration and bubbling.
Can I Use a Hair Dryer as a Heat Gun to Heat the Window Tinting Film?
Using a hair dryer as an alternative to a heat gun is possible but not recommended. Hair dryers are designed for drying hair, not for melting adhesive during tint application or removal processes.
The high heat setting of a decent hair dryer may be an effective substitute for a heat gun in some cases, but it runs the risk of scorching the film if used incorrectly or at too high temperatures.
Can I Use a Heat Gun for the Window Tint Removal Process?
Using a heat gun is an effective way to remove car window tint from glass surfaces, but it requires skill and care due to the high temperatures involved in this process.
Applying too much heat while removing tint can cause damage to both the glass surface and surrounding materials, such as paint or rubber seals around windows. Read all warnings about your particular heat gun model before attempting any removal process involving window tints.
Common Mistakes People Make When Using a Heat Gun for Tinting Windows
Using a heat gun for tinting windows is a great way to achieve your desired look for your home, office, or car. But if not done correctly, it can also lead to costly mistakes. Here are some of the common mistakes people make:
Overheating the Vinyl Wrap
When employing a heating gun for tinting car windows, one of the most common mistakes people make is overheating the vinyl wrap. Too much heat can cause the material to become brittle and crack, ruining your project completely.
When using a heat gun, keeping the temperature between 40-100 degrees Fahrenheit is important. Anything above 100 degrees can damage the material and your work surface, potentially leading to fire or burns if not monitored correctly.
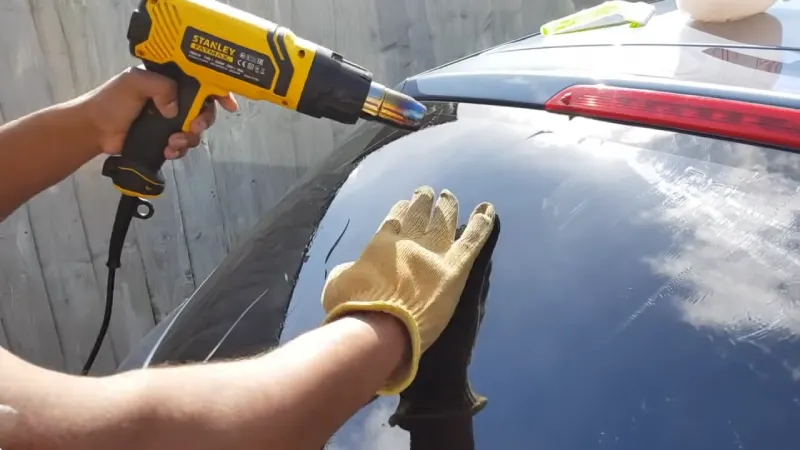
Not Using Protective Gear
Tinting windows requires extreme caution due to its potential dangers; hence users must wear protective gear such as gloves and goggles when working with a heat gun capable of producing temperatures up to 100 degrees Fahrenheit or more.
Not wearing protective gear can lead to severe burns or even blindness if exposed too long in these dangerous conditions without protection from hot air or flying particles from the heated materials.
Using Too High of a Temperature
The use of too much heat with a heat gun when tinting windows is another mistake often made by inexperienced users when attempting this type of project. As mentioned earlier, setting the temperature too high can cause irreparable damage to both your work surface and the material itself.
Also, many materials used for car window tinting require specific temperatures to adhere appropriately. Setting it too high will prevent proper adhesion from occurring, which could result in bubbles forming underneath where you need it most.
Applying the Vinyl Wrap Incorrectly
Another biggest mistake people make when tinting windows with heat guns is applying the vinyl wrap incorrectly. When applying the vinyl wrap, it’s essential to ensure that it is cut and applied evenly on all sides of the vehicle window frame so that no gaps or bubbles are left behind.
It’s also vital to ensure at least an inch of excess material at both edges of the frame in case any trimming needs to be done later. If you don’t consider these precautions, you could have an uneven finish and visible wrinkles in your vinyl wrap.
Not Trimming the Excess Vinyl Properly
When tinting windows with a heat gun, people don’t trim the excess vinyl properly. It’s essential to use a sharp blade or scissors to carefully trim away any extra material from around the edges of the window frame once you have applied your vinyl wrap.
This will help ensure that there are no rough edges that could potentially damage the surface of your vehicle or home window frames. Also, this will help create a smoother overall finish by removing any bumps or ridges caused by uneven cutting techniques.
Rushing the Process
Finally, one last mistake people often make when tinting windows with a heat gun is rushing through the process without taking their time and being careful. It takes time and patience to properly apply vinyl wrap-around window frames and ensure everything is trimmed correctly, so take your time.
Rushing through this process could result in uneven cuts or sloppy application, ultimately ruining your final product.
Get Professional Results: Use a Heat Gun for Tinted Windows
Window tinting can improve privacy, reduce glare from the sun, and help keep interior temperatures comfortable in your vehicle or home. Using a heat gun during the application process is highly recommended because it provides an even finish that helps ensure the lasting durability of the film.
It ultimately depends on your preferences and budget and the size and shape of the window being covered. Consider all those factors when deciding whether or not you need a heat gun for your window tinting project. With those tips in mind, you can confidently apply the window tint.
Amazon and the Amazon logo are trademarks of Amazon.com, Inc, or its affiliates.

We’re a team of engineers, contractors, technicians, and woodworking experts who use power tools daily and share fact-based information, tips, and recommendations. At thetoolgeeks.com, we debunk myths about power tools and share methods to use them effectively.