How to Cut Crown Molding With a Compound Miter Saw? (7 Step Guide)
TheToolGeeks.com is a participant in the Amazon Services LLC Associates Program and other affiliate advertising programs. We may earn from qualifying purchases. (Learn More).
Getting a professional and elegant finish to a room with crown molding looks like a difficult task if you don’t know what you’re doing, but is actually very easy with the proper tools, understanding of cuts, and a little bit of practice.
Understanding how to position a miter saw and use the miter cut and the bevel cut will give you a finished product that fits together perfectly. With a few easy steps, you can improve the touches that can make a room look professionally finished.
Today we will be explaining to you how to cut crown molding with a compound miter saw. Keep reading!
What is Crown Molding?
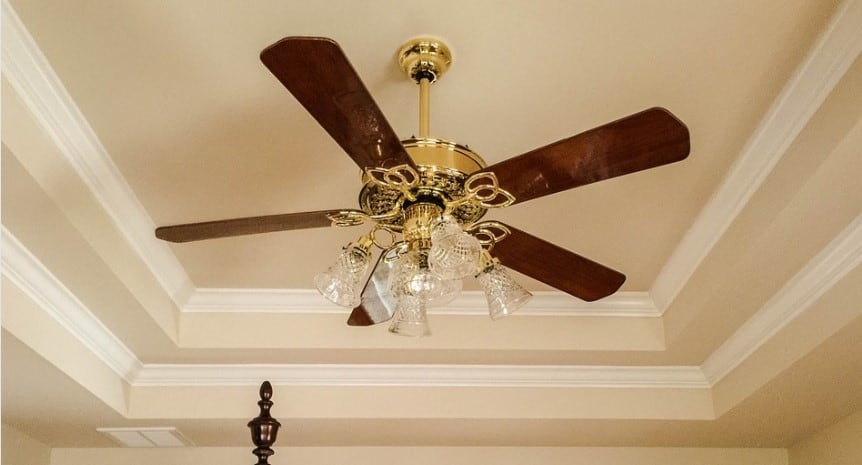
Crown molding is using two pieces of wood to add a “rim” to the joint between the wall and the ceiling in a room. Although it looks like a fairly simple task, it requires a good understanding of cutting angles and can be confusing the first time a person attempts it.
This technique is all the more confusing as it can be performed with two pieces of largely similar equipment – the non-compound miter saw (sometimes referred to as a traditional miter saw) and the compound miter saw.
If you already own or have access to a miter saw, check which kind it is before you make plans for creating your own crown molding.
How Does a Miter Saw Work For Crown Molding?
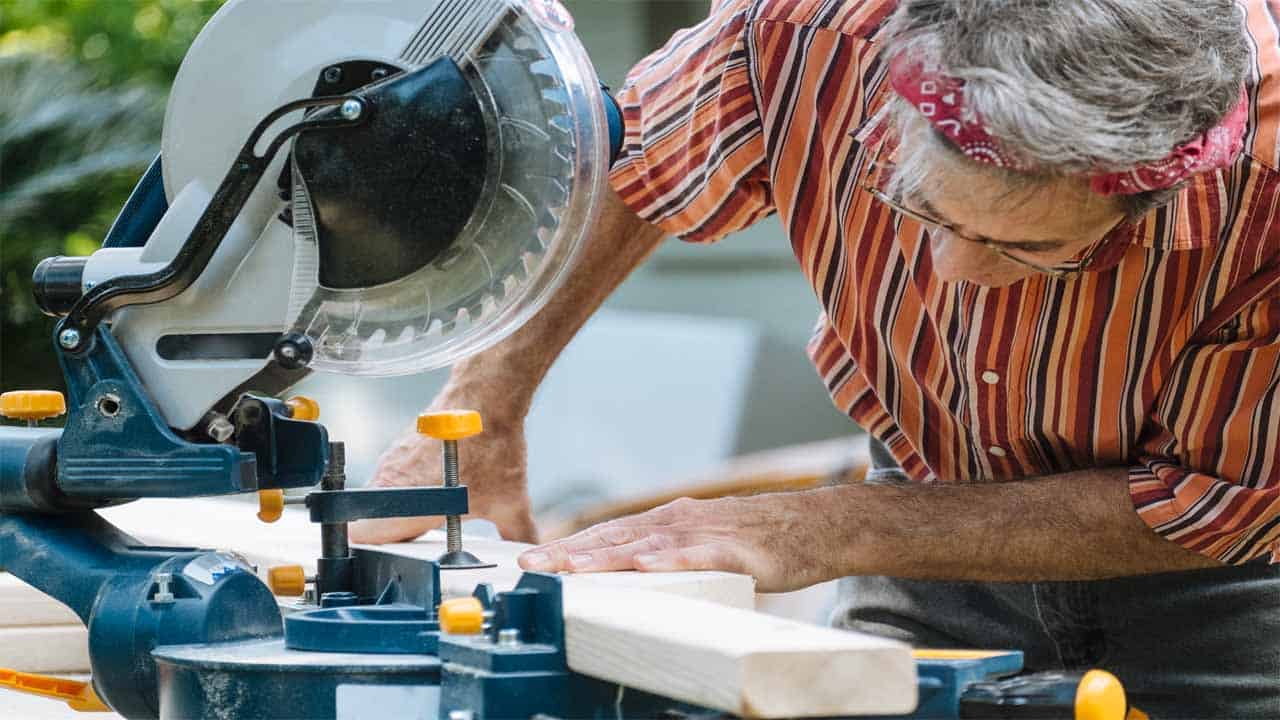
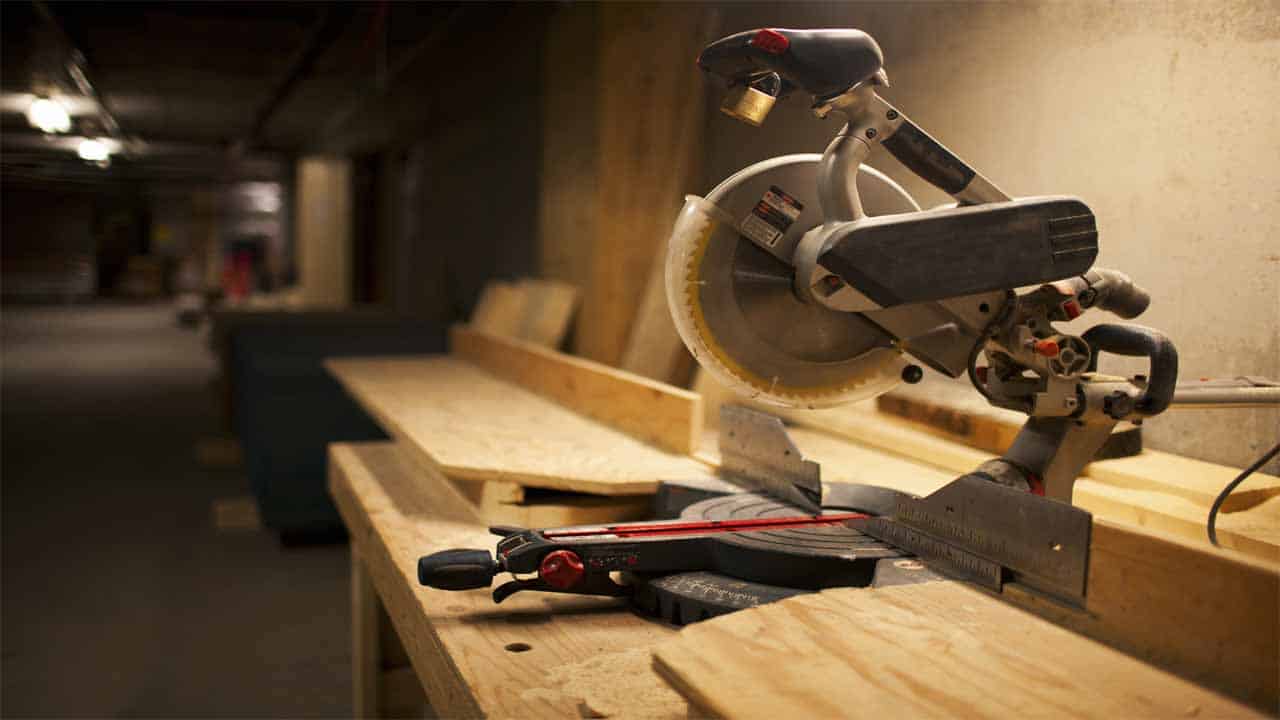
A miter saw in a mounted saw that is used to make cross cuts in wood. It is a circular saw blade mounted on a board that offers support to the operator. Depending on the kind of miter saw, it may also have a bevel that can be used to adjust the saw angle.

When using a compound miter saw, we have two specific places to describe the orientation of the wood – the fence and the bed. These are technical terms that any self-respecting woodworker must know if they plan to master using the miter saw.
The fence is the piece of metal closest to the blade that stands upright at a 90-degree angle from the base of the saw. This acts as a wall for you to steady wood against when cutting. Some compound miter saws have adjustable fences that can be used to hold larger pieces of wood in place.
The bed is where you rest the wood and has the slot for the saw to pass through when cutting.
We will be using these words for direction in this how-to guide, so make sure you’re comfortable with using them.
What Kind of Cuts Do I Need to Make for Crown Molding?
There are two different techniques for cutting crown molding. Which technique you use will depend on the kind of miter saw that you have. There are more traditional miter saws and modern, more complex compound saws, 10-inch miter saws, or 12-inch miter saws.
We will begin by investigating how to cut crown molding with a traditional miter saw and then move onto the compound saw. If you know you are going to use a compound saw, skip to that section.
If you are yet to buy or rent a saw for your project, getting the compound saw allows for great versatility in the kind of cuts you can make as well as greater ease with performing certain cuts which can be a bit tricky with a traditional saw.
If you don’t have a miter saw, then check here our reviews.
How to Cut Crown Molding With a Traditional Miter Saw?
Using a non-compound saw for crown molding requires you to use a technique known as the vertical method.
This style of cut will save time worrying about a bevel cut as we simply flip the process – when you understand how to do this cut, you can do the same but the other way around!

This explanation deals with cutting inside corners (for a room where the corner meets internally). If you need to cut an outside corner, see the end of the step by step guide.
Step One: Safety Gear
A miter saw is a dangerous piece of equipment that will spray sawdust when used. You need protective goggles and a dust mask when operating the saw.
Read More — How to Square a Miter Saw?
Step Two: Setting Up the Wood
Take your piece of wood and place it in the “vertical position” – the decorative side facing up with the wood sat in a diagonal between the fence and the bed.
Some miter saws might not be tall enough for all pieces of wood, but there are addons available that will extend the height of your fence if you need them.
Secure the wood to the board on the left-hand side of the blade. Ideally, you want to use a clamp to hold it in place while you use the saw.
Step Three: Making the First Cut
The angle for the cut you need will depend on the angle of the corner you want to fix the crown molding to. We will use 90° for the sake of simplicity.
In cases where you do not have an exact 90° angle to work with, using discard crown moldings can give a good basis for a new measurement.
Your wood should be secured with the right-hand side below the saw. This is the position we want the wood to be in for the left-hand side of the joint.
Set the miter to 45 degrees left and administer the cut. After the cut is made, save the left-hand piece.
Step Four: Making the Second Cut
Now take your piece of wood and secure it to the right-hand side of the table. This is the position we want for making the right-hand side of crown molding.
Turn your miter to 45 degrees right and administer the cut again. After this cut is made, save the right-hand piece.
Step Five: Put Your Crown Molding Together
Taking both pieces, you should now have a crown molding corner that sits together properly.
Simple as that. Remember, using a non-compound saw requires you to change the angle of the miter and the position of the wood. It saves on worrying about the bevel angle, but it can be a tricky process if you do not have a fence that is tall enough.
Using a Traditional Saw for Outside Corners
This method is no more difficult than using a traditional saw for an inside corner, but you have to remember which pieces to cut and how to match the pieces.
Instead of taking the left-hand piece and cutting with the miter set to the right, move your miter to the left at 45 degrees. Lay your wood so that it is against the fence on the right-hand side of the board.
When you make the cut, you want to keep the right-hand piece of the wood. Then you can repeat the process with the right-hand part of your crown molding, setting the miter to the right at 45 degrees.
When you have your two pieces, test them to make sure that they fit together properly. And there you go, you have an outside corner perfect for arches and feature wall corners.
Read More — 10-inch vs 12-inch Miter Saws
How to Cut Crown Molding With a Compound Saw?
Using a compound saw for crown molding is a slightly more complex process that requires the use of the swivel function for the saw.

Once you understand the measurements and how to set your miter and bevel, it will be as straightforward as the traditional method.
This explanation deals with cutting inside corners (for a room where the corner meets internally). If you need to cut an outside corner, see the end of the step by step guide.
Step One: Safety Gear
As with the non-compound saw, always think safety first. Goggles and a dust mask are necessary.
Step Two: Measuring Your Angle
The compound saw method (or the “flat” method) requires a greater deal of precision due to the way you use the saw and administer the cuts. Taking time to measure the angles that you need and setting your saw up properly is a must.
Step Three: Positioning Your Wood
Unlike the vertical set up of the non-compound saw, the compound saw needs the wood to be flat against the bed. You will want the front of the wood (i.e. not the decorative side) facing down for this. Position it against the fence for added stability.
Step Four: Configuring the Compound Saw
The compound needs a high degree of accuracy when setting the configurations. We will take the left hand cut as our first example.
Position your bevel to 33.85 degrees left – this will move your saw to the left and give you the desired angle for the cut.
Position your miter to 31.62 degrees left – this measurement should be on your miter already and possibly even as a soft stop for the saw.
If not, finding this angle is necessary for an accurate cut – take your time to measure and re-measure.
Step Five: Making the First Cut
Now you can administer the cut and you will have your left side for your crown molding.
Discard the right-hand piece.
Step Six: Reconfiguring the Compound Saw
Now that you have your left-hand piece, take the wood that you want to make the right handpiece out of. Position your wood with the decorative side facing up.
The saw must be configured the exact opposite of the configurations for the first cut.
- Position your bevel to 33.85 degrees right.
- Position your miter to 31.62 degrees right.
Step Seven: Making the Second Cut
As with your first cut, apply the saw to the wood and you will now have your right side for your crown molding.
Step Eight: Put Your Crown Molding Together
Make sure that you have made the cut correctly by placing both pieces of wood together as they would be lined up on the wall.
There is more room for error here if you have a compound saw which did not have the crown molding setting set up already.
If you have made an error, you will have to repeat the process from the beginning – make sure you test your abilities with scrap wood!
Read More — How To Cut Baseboard With a Miter Saw
Using a Compound Saw for Outside Corners
Much like with the method for a traditional saw, cutting outside corners with a compound saw requires you to flip your measurements and the way you set up your wood.
When cutting the left-hand side, set up your wood so that the decorative side is facing up. Then, adjust your bevel to 33.85 degrees and your miter 31.62 degrees to the left. Make the cut and save the right-hand piece.
For your right-hand side, keep your bevel at 33.85 degrees but move your miter to 31.62 degrees on the right. Make the cut and save the left-hand piece.
Check that your pieces fit together and now you have used your compound saw to make an outside corner. Remember, measuring your angles beforehand is a necessary step, so adjustments may have to be made for the size of the angle.
Conclusion
Regardless of whether you have a compound or a non-compound saw, the process can be quite tricky and requires a great deal of accuracy to get professional finishes. Taking time to double-check your measurements will lead to a better finish that pleases you and your customers.
Although you are more likely to see a compound saw today, understanding how to use a traditional miter saw will improve your skillset as a woodworker and give you greater versatility when working on crown molding.
And finally, even though you will not usually have to remember these measurements off by heart in the workplace, understanding how to judge the correct angles and adapt your work to specific jobs will help you finish jobs faster and with greater quality.
Amazon and the Amazon logo are trademarks of Amazon.com, Inc, or its affiliates.

