

How to Load a Staple Gun: A Step-by-Step Guide for Easy Use
TheToolGeeks.com is a participant in the Amazon Services LLC Associates Program and other affiliate advertising programs. We may earn from qualifying purchases. (Learn More).
Loading a staple gun is a simple yet essential task that everyone should learn, especially when engaging in DIY projects, repair work, or even just hanging decorations. Knowing how to properly load a staple gun will not only save time and effort but also minimize the risks of accidents or damage. Staple guns come in different types such as manual, electric, and pneumatic, and each has its own loading procedure.
In the following guide, the proper methods of loading different types of staple guns will be explained in detail. As each type has unique characteristics that affect the loading process, it is important to follow the specific instructions given to ensure the staple gun’s performance and safety. By the end, users will be equipped with the knowledge and confidence to efficiently load a staple gun and carry out their tasks seamlessly.
Whether it’s fixing a piece of furniture, hanging up artwork, or reupholstering a chair, having a staple gun in the toolbox is essential for various tasks around the house. To get the most out of this versatile tool, users need to understand the correct method of loading and handling it. With the right knowledge, using a staple gun can be a safe, efficient, and rewarding experience.
Understanding a Staple Gun
A staple gun is a versatile tool used for various applications, ranging from upholstery and carpentry to crafting and decorating. There are three primary types of staple guns: manual, electric, and pneumatic. Each type of staple gun serves a specific purpose, so it’s essential to understand each one’s unique features before choosing the right one for your project.
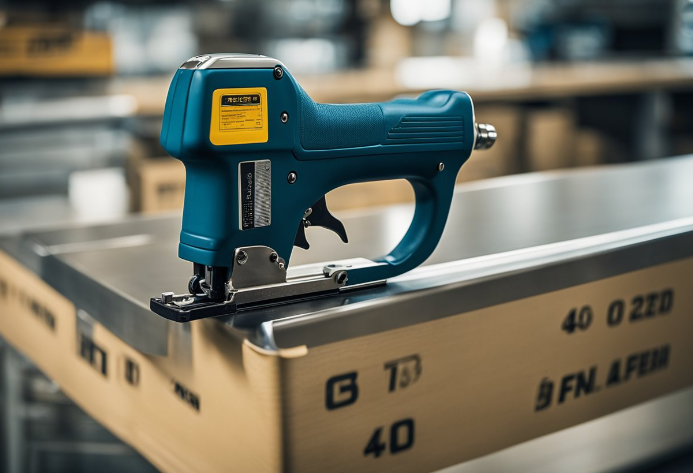
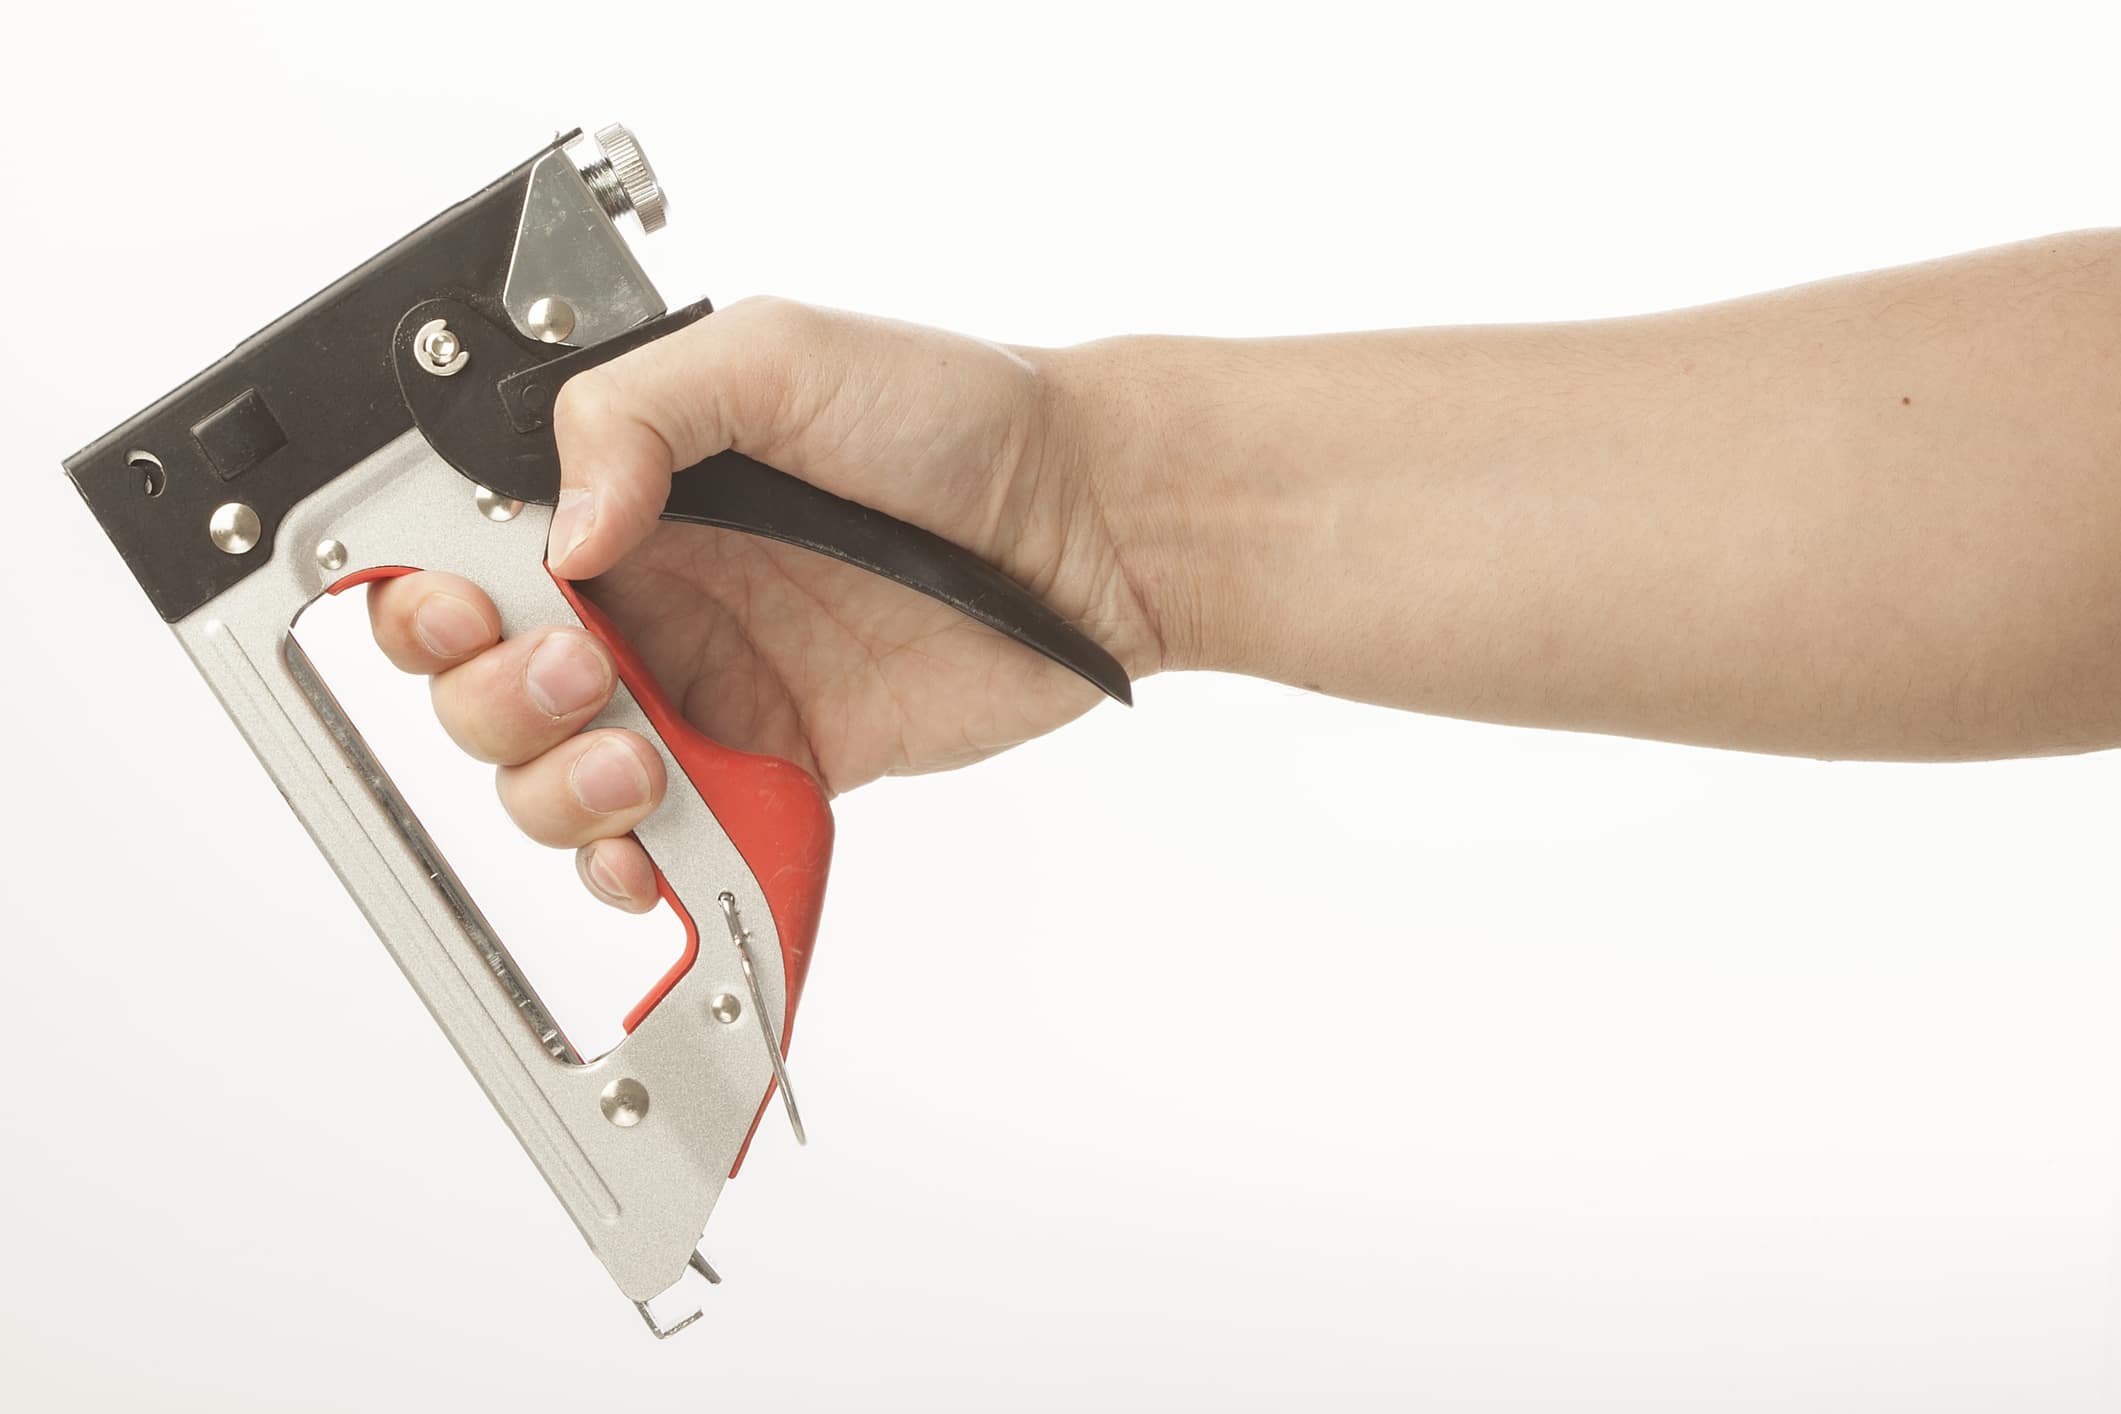
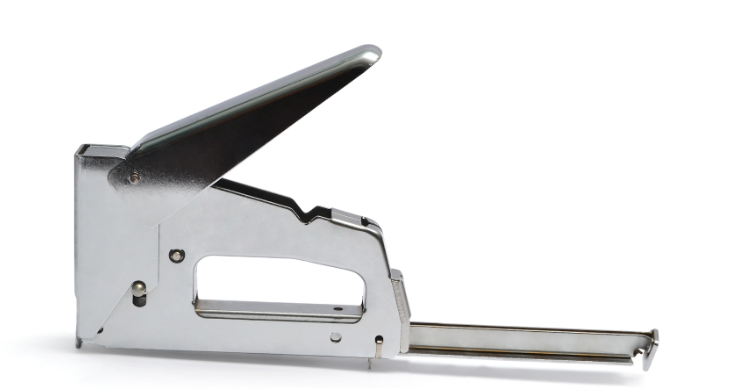
Manual staple guns are the most common and straightforward to use. They require the user to apply pressure to the handle, which drives the staple into the material. These staple guns are ideal for occasional use and light-duty tasks, such as hanging decorations or attaching fabric to a frame.
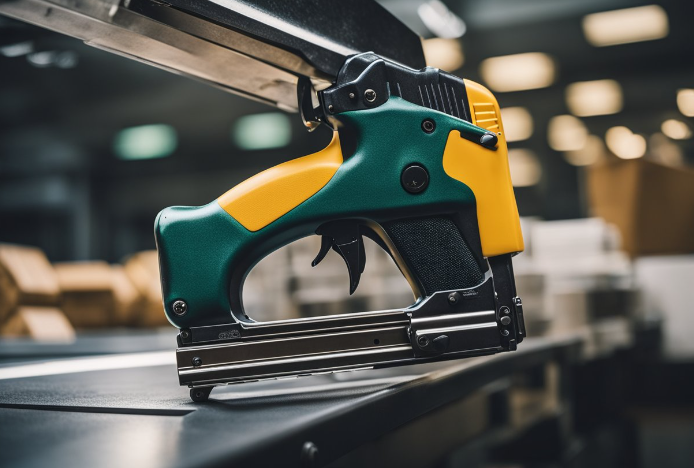
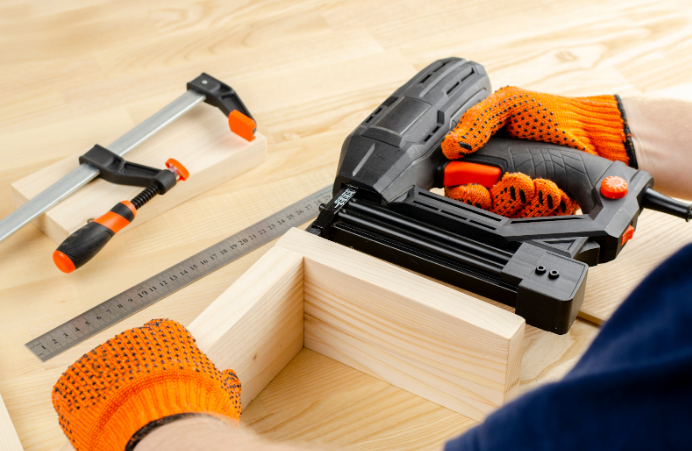
Electric staple guns use an electric motor to power the firing mechanism, making them more efficient and less physically demanding than manual staple guns. These models are suitable for more frequent use and slightly heavier-duty applications, such as insulation installation or securing wires and cables.
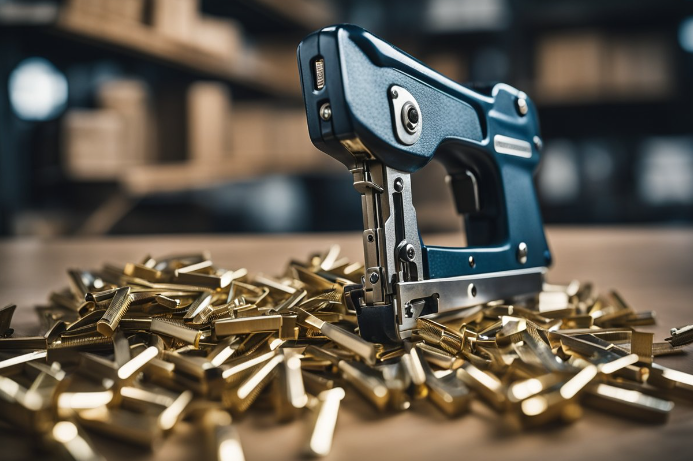
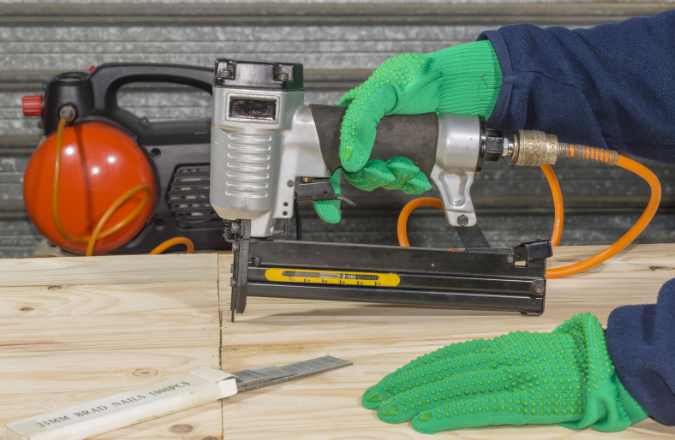
Pneumatic staple guns use compressed air to drive staples, offering the most power and least user fatigue among the staple gun types. They’re commonly used for heavy-duty tasks in construction and woodworking, such as framing, sheathing, and installing roofing materials.
When loading a staple gun, whether it’s a manual, electric, or pneumatic model, there are two primary loading systems: front-loading and rear-loading. Identifying the type of staple gun you have and its loading mechanism is crucial for proper operation.
Front-loading staple guns are common among manual models, where the staples are loaded into a compartment at the front of the device. To load a front-loading staple gun, release the pusher rod, insert the staples into the chamber, and reinsert the pusher rod to secure the staples.
Rear-loading staple guns are often found in electric and pneumatic models, as the staple chamber is typically located at the back of the tool. Loading a rear-loading staple gun usually involves releasing a magazine or follower, inserting the staples, and then reattaching the magazine or follower.
When choosing the appropriate staples for your staple gun, it’s essential to know the type of tool you’re using. For example, a T50 staple gun requires T50 staples, while a craftsman staple gun might use a different size or style. Always consult the tool’s user manual or product description to ensure compatibility with the staples.
By understanding the unique features of manual, electric, and pneumatic staple guns, as well as their loading mechanisms, you can ensure efficient and safe usage across various projects. Remember to select the appropriate staples and follow the manufacturer’s instructions when loading and operating your staple gun.
Identifying Key Parts
When learning how to load a staple gun, it’s essential to first understand the key components of the tool. The main parts to familiarize yourself with are the magazine, trigger, rear, bottom, slide, lock, butt, rail, arrow, and other components such as the pusher, grip, release button, follower, trigger lock, guide rail, hook, plunger, guide rails, compressor, and magazine release.
The magazine is the section of the staple gun where the staples are stored and fed into the tool. It typically runs along the bottom of the gun and is connected to the slide and lock mechanisms. The magazine ensures a smooth and continuous supply of staples when using the staple gun.
The trigger is the part of the staple gun that is pulled to activate the tool and expel a staple. It is usually located at the top of the handle and connects directly to the inside components, such as the plunger and compressor. The grip provides comfort and control when holding and operating the staple gun.
The rear and bottom of the staple gun house the various internal mechanisms, such as the trigger lock, plunger, and guide rails. The trigger lock, when engaged, prevents the staple gun from accidentally firing without warning. The plunger and guide rails work together to force the staple out of the magazine and into the material being stapled.
On the front end of the staple gun, you will find the butt, rail, and arrow components. The butt supports the base of the staple as it is expelled from the magazine, while the rail and arrow work together to guide the staple accurately into the material. The guide helps to ensure that the staple is driven straight and flush with the surface being stapled.
The lock mechanism on the staple gun secures the magazine in place when it is filled with staples. Additionally, the follower within the magazine keeps the staples organized and assists in feeding them through the gun. The release button and the magazine release allow for quick and easy opening of the magazine when it’s time to refill with staples.
Knowing the key components of your staple gun and their functions will help you efficiently load and operate the tool. Familiarizing yourself with these parts will also allow you to address potential issues such as jams and guide rail malfunctions.
Types of Staples
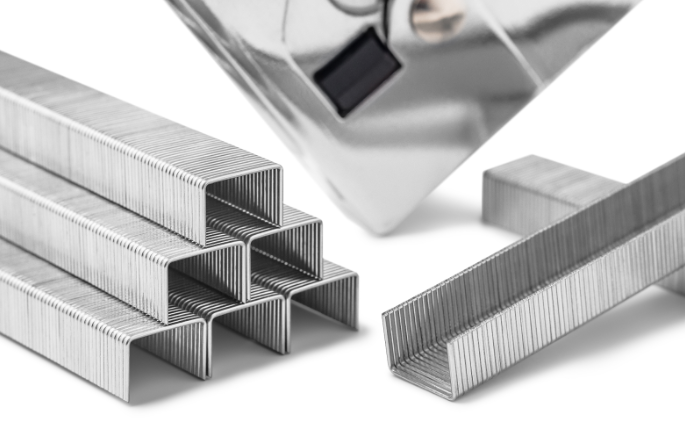
There are several different types of staples used in staple guns, which vary according to specific applications and compatibility with particular models of guns.
Standard Staples: These staples are usually found in the common office stapler, but they can also be used in certain models of staple guns. They have a flat top crown with two legs and are made of thin metal wire. T50 staples are a popular size for this type, typically used in several manual and electric staple guns.
Brad Nails: Brad nails are specifically designed for narrow and lightweight applications. Unlike traditional staples, they do not have a crown, so they can easily be hidden when used in woodworking projects or detailed finish work.
Cartridge Staples: These staples are available in pre-loaded cartridges, significantly speeding up the process of reloading a staple gun, especially when working on large projects. They are typically used in heavy-duty models, including pneumatic and electric staple guns.
When choosing the appropriate staple type for your staple gun, it is crucial to consider the specific compatibility and intended use. This helps ensure a seamless workflow and prevents potential damage to the staple gun or your project.
Loading Different Types of Staple Guns
Preparation Before Loading
Before attempting to load a staple gun, it’s important to gather all necessary materials and ensure the proper safety measures are followed. This will help to guarantee a smooth and effective way of loading the staple gun.
Firstly, gather the staples compatible with your staple gun model. Different staple guns require specific staples, so always refer to the user’s manual for the correct type and size of staples. It’s also beneficial to have a flat surface to work on, providing stability during the loading process.
Next, make sure to disconnect any power source attached to the staple gun. If it’s an electric or pneumatic model, unplug it from the outlet or detach the air hose. This step is crucial for safety as it prevents accidental discharge during the loading process. For a manual staple gun, hold it carefully to avoid accidental firing.
When handling the staple gun, always point it away from yourself and others. It’s essential to handle the tool with care and keep your fingers clear of the trigger area. Wearing safety glasses is also recommended to protect your eyes from any potential hazards.
After you have prepared the necessary materials and followed the safety guidelines, you can proceed to load the staple gun. This process may differ slightly depending on the type and model of the staple gun, so make sure to consult the user manual for specific instructions related to your device. Don’t forget to reassemble the staple gun correctly to ensure proper functionality.
Loading a Manual Staple Gun
Loading From The Bottom
To load a manual staple gun from the bottom, follow these steps:
- Ensure the staple gun is not loaded. Make sure there are no staples in the gun before starting the process. Always point the staple gun away from your body and others during the entire process.
- Locate the pusher rod. At the bottom of the staple gun, find the pusher rod, typically held in place by a spring mechanism.
- Release the pusher rod. Press the release button or mechanism, usually found at the rear of the staple gun, and pull the pusher rod out.
- Insert the staples. Place a strip of staples into the staple gun’s chamber, ensuring the staples’ legs are pointing downwards and perfectly aligned with the chamber.
- Reinsert the pusher rod. Slide the pusher rod back into the staple gun, compress the spring mechanism, and lock it in place.
Loading From The Front
For front-loading manual staple guns, follow these steps:
- Ensure the staple gun is not loaded. Always check that there are no staples inside the gun before starting the process. As with a bottom-loading staple gun, keep it pointed away from your body and others.
- Open the front-loading hatch. Locate the front-loading hatch, usually at the front or top of the staple gun. Press the release button or mechanism, and gently pull or swing the hatch open.
- Insert the staples. Place a strip of staples into the chamber, ensuring the staples’ legs face downwards and are properly aligned with the chamber.
- Close the front-loading hatch. Once the staples are in place, close the front-loading hatch and lock it securely.
Remember to follow these steps carefully, and always practice safety when handling a manual staple gun. With confidence, knowledge, and a clear approach, loading a staple gun can be quick and hassle-free.
Loading an Electric Staple Gun
Loading an electric staple gun is a straightforward process. By following these simple steps, anyone can load a staple gun confidently and efficiently:
- Ensure safety first: Unplug the electric staple gun from its power source and keep the trigger lock engaged. This will prevent any accidental fires when handling the device.
- Locate the magazine release: Find the magazine release latch on the staple gun. It is usually found at the rear end of the gun or near the handle.
- Open the magazine: Press the release latch and slide out the magazine. In some models, the magazine may pop open automatically when the latch is released.
- Load the staples: With the magazine open, place a strip of compatible staples inside, ensuring the staple legs are facing toward the front of the gun and the crown faces the bottom. Keep the staples parallel to the magazine rails.
- Close the magazine: Once the staples are in place, slide the magazine back into its original position. You should hear a click that indicates the magazine is locked and secured.
- Check the staple gun: To make sure the electric staple gun is functioning properly, plug it back in and briefly test it on a piece of scrap material. This will confirm the staples are loaded correctly and the gun is ready to use.
Remember, electric staple guns can vary in design and functionality, so always refer to the manufacturer’s instructions for specific loading procedures and safety guidelines. Loading an electric staple gun correctly is essential for optimal performance and accident prevention.
Loading a Pneumatic Staple Gun
Loading a pneumatic staple gun is relatively straightforward, requiring a few steps and proper safety precautions. This type of staple gun uses an air compressor, or a compressed air canister, that drives the staples into materials with power and precision.
To begin, make sure the air compressor is off and disconnected from the pneumatic model for safety reasons. This will prevent any accidental discharge while loading the staple gun.
Next, locate the magazine release on the pneumatic staple gun. It is typically a latch, button, or lever found on the side of the tool. Press or slide the release mechanism to open the staple gun’s magazine.
Slide out the magazine tray, if applicable, to access the staple compartment. Some models may have the magazine built into the gun, so the tray may not be removable.
Now, place the correct size and type of staples onto the magazine tray or directly into the staple compartment. Pneumatic staple guns can handle various staple sizes, so consult the user manual or tool specifications to determine which staples are suitable for your particular model. Align the staples properly with the rails of the magazine tray or the staple compartment, ensuring that the staple’s crown faces up and the legs face down.
Once the staples are in place, close the magazine by sliding the tray back into position or activating the release mechanism to secure it in place. Make sure it firmly snaps or locks into position.
Now that the pneumatic staple gun is loaded, it’s time to connect the air hose to the air inlet on the bottom of the tool. Ensure that the hose is free from kinks or damage. Attach the other end of the air hose to the air compressor.
Finally, turn on the air compressor and allow it to build pressure. Adjust the pressure settings according to recommendations for specific pneumatic model and the type of materials you plan to fasten.
Remember always to wear appropriate safety gear, such as safety glasses and hearing protection, while operating a pneumatic staple gun. With the tool loaded and the air compressor connected, you are ready to tackle your project with a confidently loaded pneumatic staple gun.
Post Loading Checks and Practices
It is important to perform a few post-loading checks and practices to ensure the safety and efficiency of the tool. Following these steps will help you confirm that the staple gun is ready for use.
First, examine the staple gun for any visible damage or wear that could potentially be a safety hazard. Look for cracks, loose parts, or any other signs of damage. If you spot any issues, do not use the tool until it has been properly repaired or replaced.
After inspecting the staple gun, it’s time to test its functionality. To do this, place a scrap piece of wood, cardboard, or other suitable material on a safe, flat surface. Make sure the area is clear of any potential hazards or obstructions. With the staple gun aimed away from yourself and others, carefully squeeze the trigger to fire a test staple into the material.
Next, practice the proper firing technique by holding the staple gun firmly with one hand while using your other hand to stabilize the tool if necessary. Ensure that the nose of the staple gun is placed flat against the material. Now apply steady pressure while squeezing the trigger. This will help improve accuracy and minimize the risk of injury.
Additionally, periodically check the staple supply in the staple gun to prevent running out of staples during a project. Maintaining an adequate supply of staples will reduce potential downtime and increase efficiency.
By performing these post-loading checks and practices, you can feel confident and knowledgeable. These steps contribute to the safe operation of the tool and enhance the overall quality of your work.
Applications of Staple Guns
Staple guns are versatile tools that can be used for a wide range of applications. They are essential for various projects, including those related to woodworking, upholstery, insulation, and crafts.
In woodworking, staple guns come in handy for securing wood pieces together. They are particularly effective when working with particle board or plywood, which may not hold nails or screws as well. Additionally, staple guns can be used to fasten wooden frames, mount trim, and attach baseboards.
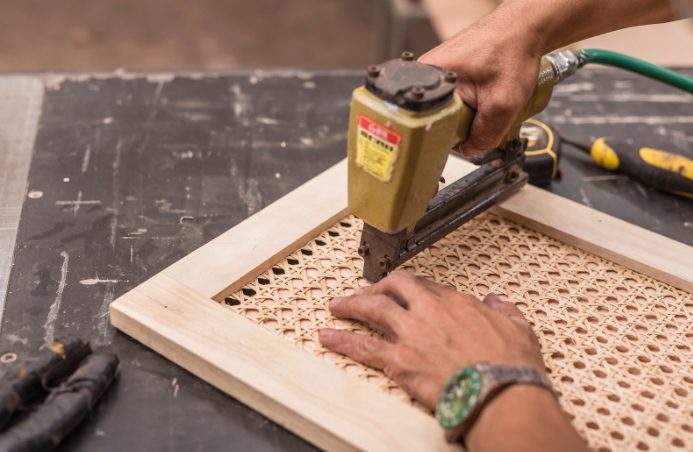
For upholstery projects, these are essential for attaching fabric to furniture frames. They allow for a secure and even attachment, ensuring a professional finish. These guns can also be helpful when working with foam and padding, providing a stronghold for lasting comfort and durability.
Installing insulation is another common use for staple guns. They efficiently secure sheets of insulation to walls, floors, and ceilings. It provides a tight seal to help maintain a comfortable indoor temperature. Staple guns can even accommodate different materials, such as fiberglass and foam insulation.
Wiring projects also benefit from the use of staple guns. Electricians and DIY enthusiasts can use them to fasten and organize cables, ensuring a neat appearance and reducing potential hazards. The correct staple gun and staples will protect the wires while keeping them in place.
Craftsmen and hobbyists find staple guns to be useful tools in a range of creative projects. They can be used to secure decorative items, such as trim or molding, to different surfaces. These are also popular for securing canvases for art, making them a staple in many artists’ toolboxes.
In summary, staple guns are versatile and reliable tools for numerous applications, from woodworking and upholstery to insulation and wiring. Their efficient design and ease of use make them indispensable for professionals and DIY enthusiasts alike.
Troubleshooting Staple Gun Issues
Resolving Staple Jams
Occasionally, staple guns may experience jams, which can interfere with the gun’s proper functioning. One common cause of jamming is a staple lodged within the device. First, ensure the tool is disconnected from any power source or has its trigger locked for safety.
Next, access the spring-loaded plunger, which is typically found near the front of the tool. Carefully press down on the plunger to force the jammed staple out. In some cases, pliers may be needed to help remove stubborn staples.
Another contributing factor to staple jams is a weak or damaged spring-loaded plunger. Examine the plunger for any signs of wear or damage. If needed, replace the plunger to ensure a smooth and efficient stapling process.
Keep in mind that proper maintenance is essential in preventing these issues. It’s good practice to:
- Regularly clean this tool, particularly around the loading area, to prevent debris buildup.
- Use the correct size and type of staples recommended by the manufacturer.
- Store this tool in a dry, clean environment when not in use.
By diligently following these tips, users can minimize and troubleshoot these issues, ensuring efficient and hassle-free operation.
For more such informative articles visit The Tool Geeks website.
Recommended Staple Gun Types for Purchase
Amazon Basics Manual Staple Gun with 1000 Staples, for Upholstery and CarpentryImage Product Features Price 
Check Price 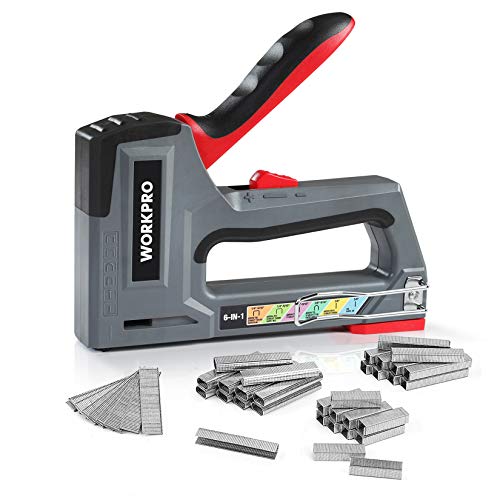
Check Price 
Check Price 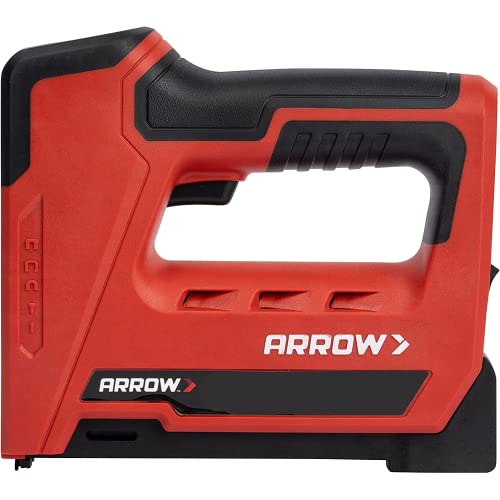
Check Price 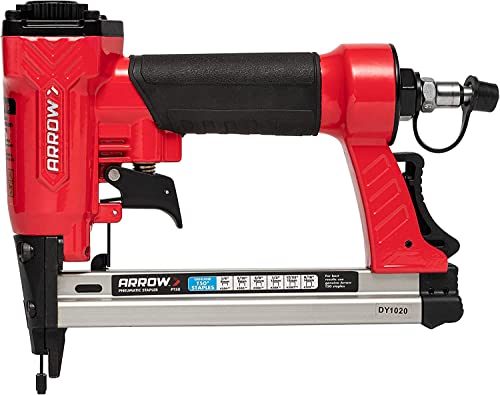
Check Price 
Check Price
Amazon and the Amazon logo are trademarks of Amazon.com, Inc, or its affiliates.

We’re a team of engineers, contractors, technicians, and woodworking experts who use power tools daily and share fact-based information, tips, and recommendations. At thetoolgeeks.com, we debunk myths about power tools and share methods to use them effectively.