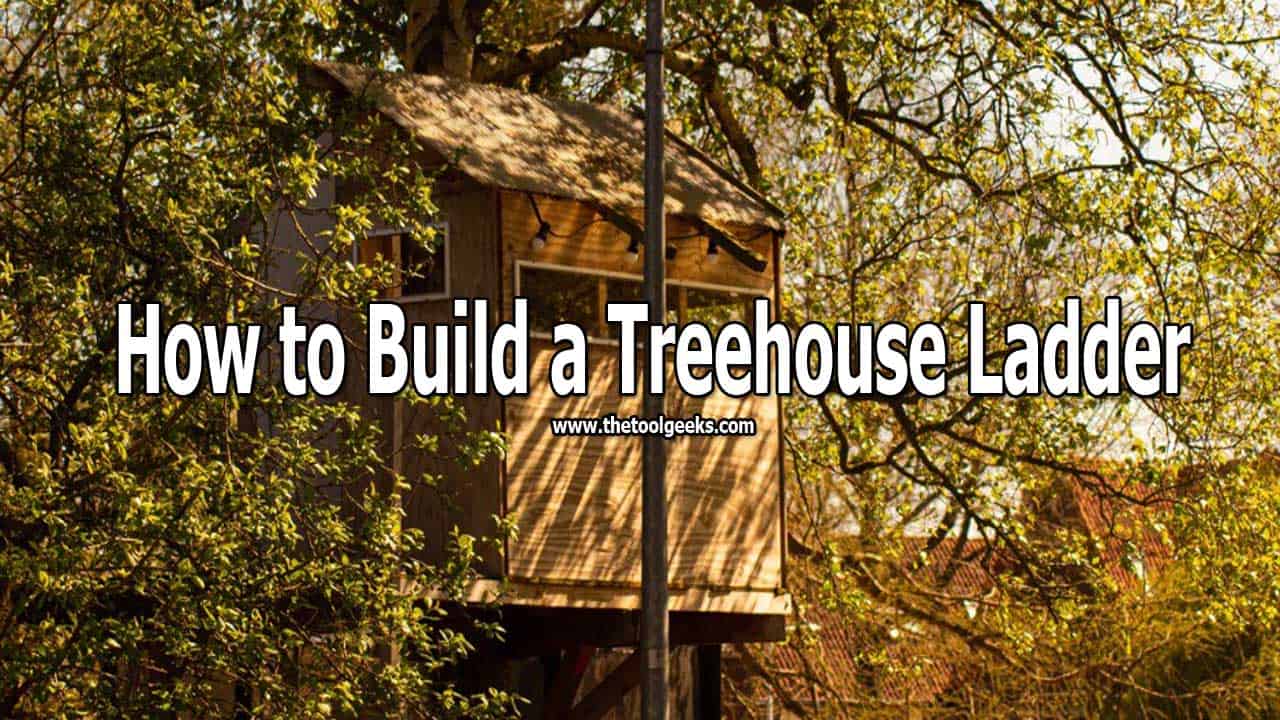
How to Build a Treehouse Ladder? – 5 Easy To Follow Steps
TheToolGeeks.com is a participant in the Amazon Services LLC Associates Program and other affiliate advertising programs. We may earn from qualifying purchases. (Learn More).
Having a treehouse is every child’s dream, it’s that one special place where they can go to play out their fantasy games, hang out with friends outdoors but still in the property of your home, or just reading a Harry Potter book why not, right?
That being said it’s obvious that a treehouse is a great place for entertainment and it could be handy for the parents as well especially if they need a minute alone to recharge their energy. So everything is great no problem, right? Wrong there is a tiny bit of information most people leave out when they talk about tree-houses, and that is how exactly to access them?
Related Read — Best Foldable LaddersIt’s quite difficult and tricky, especially for a young child to climb in and out of the treehouse safely. To solve this problem, you have to build a tree-house ladder. But, how to build a treehouse ladder? This article will help by doing just that, by walking you through instructions for building a safe, simple, and study ladder by using simple tools most people already have in their homes.
You would need:
- Measuring tape
- 8 pieces of wood approximately 60 cm long
- A circular saw
- Screws
- Screwdriver
- Sandpaper
- Wood stain
- Water sealant
- Paint or spray paint
- Paintbrushes
Jump To Page Contents:
How to Build a Treehouse Ladder?
1. Measure The Stair Distance
To design the stairs you need to measure the distance between the tree-house and the ground and also decide how far apart the steps should be depending on the age of your child.
Making a big gap between the steps could be dangerous so be careful better to be safe than sorry.
Related Read — Best Ladders for Pruning Trees2. Prepare and Sand The Wood
You need to cut approximately 8 wood pieces 60 cm long (the height varies how far from the ground the tree-house is) 6 of which you need to cut with the circular saw to create the steps, and don’t forget to leave 2 wood pieces for the sides
You need to carefully sand all the rough edges of the wood, after that apply wood stain and also apply water sealant to all the pieces.
Related Read — Best Professional Extension Ladder3. Align The Steps
Lay the 2 side pieces parallel to the ground and put the first 2 steps in between them, when you are content this the distance of each step put 3 screws in between the sides and the steps.
After that put two more steps and align them carefully. Now screen them together with the side pieces repeat that as much as you seem appropriate for the length of your stairs.
Related Read — How To Build Different Kinds Of Ladders?4. Secure The Ladder With Screws
Make sure to use a lot of screws to secure the ladder put 6 screws per ladder 3 to each side
Check the ladder for security and make sure the screws are not loose or not penetrating the wood because they might hurt the children in the long run.
Related Read — How Safe Are Telescopic Ladders?5. Paint The Ladder
To finish up this little DIY project you could personalize it even more by painting it. That would give it more life and make it look more professional.
You could paint it by hand using brushes, however, if you are scared of getting paint everywhere, try using spray paint. Hang the ladder to wood beams so you can spray paint both sides in one “sitting.”
Final Words
I hope this article helped answer your question and solved your problem, just remember you don’t need a big skill set to do it, just some equipment, a little time in your hand, the determination to finish it.
Amazon and the Amazon logo are trademarks of Amazon.com, Inc, or its affiliates.

