How To Spray Paint Your Bike (Without Having To Take It Apart)
TheToolGeeks.com is a participant in the Amazon Services LLC Associates Program and other affiliate advertising programs. We may earn from qualifying purchases. (Learn More).
At first instance, the thought of spray-painting your bike without leaving any mechanical cock-ups seems like one of those wild get-you-off-your-seats sorts of tricks that gets your magician friends asking you: “How did you do it?”
But then, what you probably don’t know (and you will in the next few minutes to come) is that spray-painting your bike without taking it apart has to be one of the easiest and seamless process—provided you play by the rules.
Jump To Page Contents:
Can You Paint a Bike Without Taking It Apart?
Yes, you can paint a bike without having to take it apart. You can reach most of the bike surfaces without taking off parts. Plus, you can cover the surfaces you don’t want to get painted.
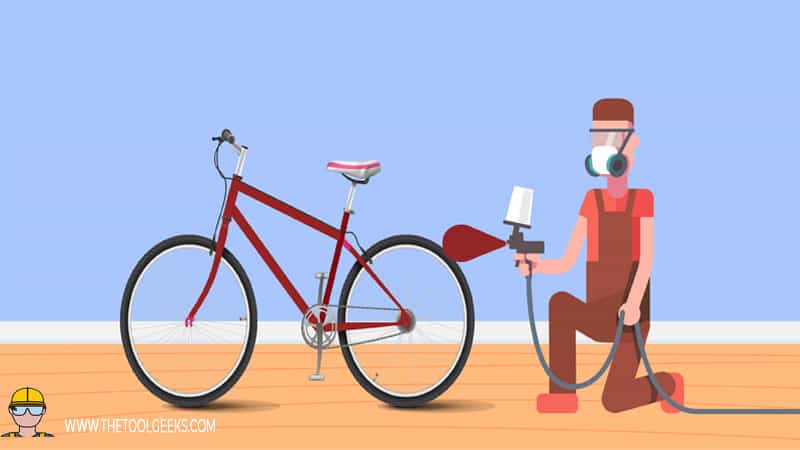
Clearly, if you want a very professional finish then taking parts off can be better. But, giving your bike a fresh look can be done without taking it apart.
You can cover the parts you don’t want to get sprayed with an old surface and then using a spray gun you can paint the rest of the bike. You can check our guide down below.
Can You Re-Spray a Bike Without Sanding It?
Re-spraying a bike without sanding it first is a bad idea. The paint won’t stick as well as it should, and you will find yourself doing the same process all over again. So, always get rid of the old paint before re-spraying your bike.
Sanding a bike means getting rid of the old paint. If you still have old paint and you apply paint on top of that, then you won’t get a smooth finish. The paint won’t stick and even if it does you will have a lot of bumps in your bike frame.
Since bikes aren’t that large– it shouldn’t take you a lot of time to fully sand it. To sand a bike you can use an electric sander or you can sand it manually.
What Tools Do You Need To Re-Spray Your Bike Frame?
- Paint Sprayer
- Paint
- Duct Tape
- Aluminum Foil
The most essential supply without which you can’t perform this task is—no prizes for guessing—yeap! Your paint.
This can only mean one thing—that you must be intentional about the sort of paint you’re going to use for the spray-painting exercise, as much as possible. You can get whichever spray paint of your choice.
Also, ensure that supplies like paint rollers, spray cans, duct tape, aluminum foil (about one roll should do the trick), and of course, also make certain that your spray paint is a darn good one – think clear coat spray. If you want better results, then buy a paint sprayer for beginners. You will complete the task faster and better.
If you’re on a budget, You couldn’t revise using some newspapers, trash bags, and a pretty solid masking tape.
Read More — How Much Does it Cost To Paint Your Bike?
How To Paint Your Bike (Without Having To Take It Apart)?
Just like most things in life, friendships, relationships, and the things that matter— they can be very ridiculously easy, even exciting to take apart, but excruciatingly tough to assemble correctly.
Bikes are pretty much similar if you think of it. Giving your bike a face-lift with nice and new shiny colors doesn’t mean you have to re-invent the whole wheel—of course, not literally—and not figuratively, for sure.
You can always navigate your way through spraying these spiky angels without needing to take it apart. And the good news? You don’t even have to be wrench-friendly to give your bike a colorful finishing that doubles as an extension of your style, whether a beach cruiser, fancy bike, sports bike, or recreational bike.
If your bike is peeling due to either wear and tear, or crappy spray paint, this post has set you up for the right path to rejuvenating your bike.
So, for my first (and final) trick, I shall be showing you how to paint your bike without having to take it apart:
Step 1 – Prep The Bike
The pre-painting phase demands a lot of care because it could make or mar your painting exercise. For instance, if you put a foot wrong by not using tapes to protect places you do not want the paint to get to reach, then you can kiss any prospects of a satisfying and fulfilling painting exercise goodbye.
Step 2 – Clean The Bike
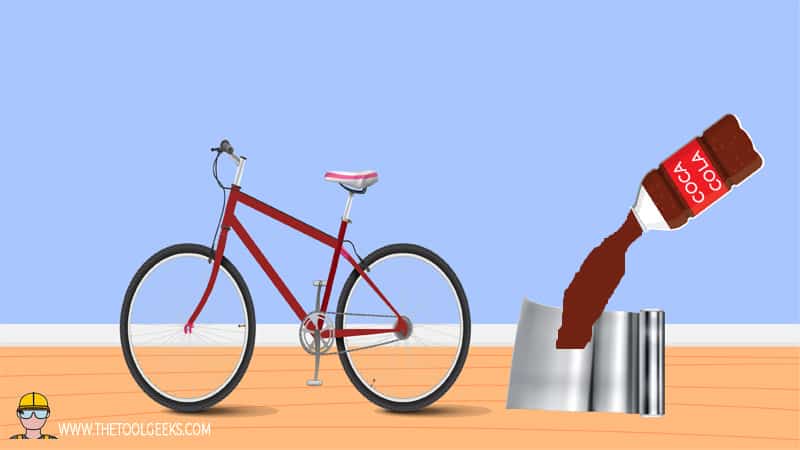
If your bike has a lot of rust on it, and you want those demons to go off of your pretty two-wheeled angel, a good hack I will recommend here will be to use Coke.
No, not crack/cocaine.
Yes, I mean the famous Coca-Cola. It’s as simple as pouring some amount of Coca-Cola on some crumpled aluminum foil and rub those on the affected parts that you will spray-paint – and viola! There comes your magician friends asking you how you did it again.
Read More — Best Spray Gun For Primer Paints
Step 3 – Cover The Areas You Aren’t Painting
Well, not covering your tracks exactly, but covering up all of those places you do not intend to paint. To do this, you could use many items. You could make use of masking tape, or duct tape or aluminum foil to cover up places that you do not want the paint to come into contact with.
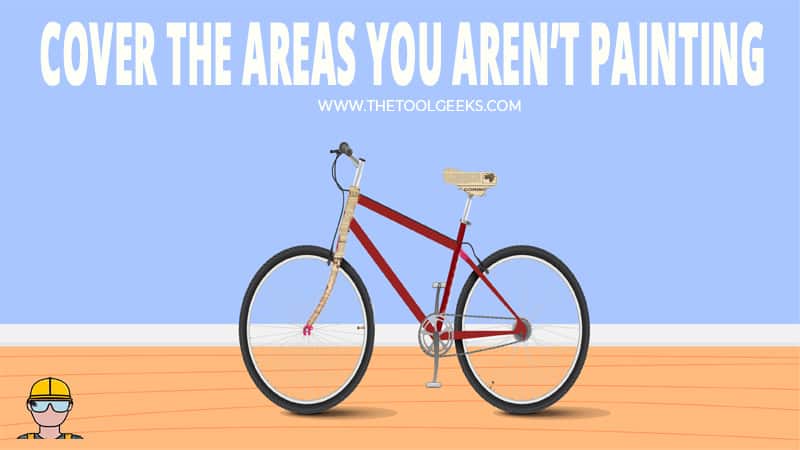
There is only so much that tapes can do when it comes to shutting off paint. There are some places where you are really apprehensive about paint spilling towards. For these places, you will need some tailor-made pieces of cardboard to block them off for good. Or you can learn how to use paint shields.
From the spikes to the seats to the handles, foils are also flexible enough to adapt to whatever surface that it is placed on, and this makes it very easy and suited for the job.
You can also be diligent enough to cover up your circumference of the road, or wherever you’re doing this exercise. This is if you’re not doing it in your workshop.
Step 3- Sand The Bike
Before you start spraying, you need to sand the bike. Sanding means that you will get rid of any old paint, scratches, and rust that your bike has. I recommend starting with 80-grit sandpaper and then moving to finer sandpaper such as 200-grit sandpaper. Or, you can use a paint stripper.
After you fully sand the bike, clean it with water to get rid of the dust, and move to the next step.
Step 4 – Put The Bike Upside Down
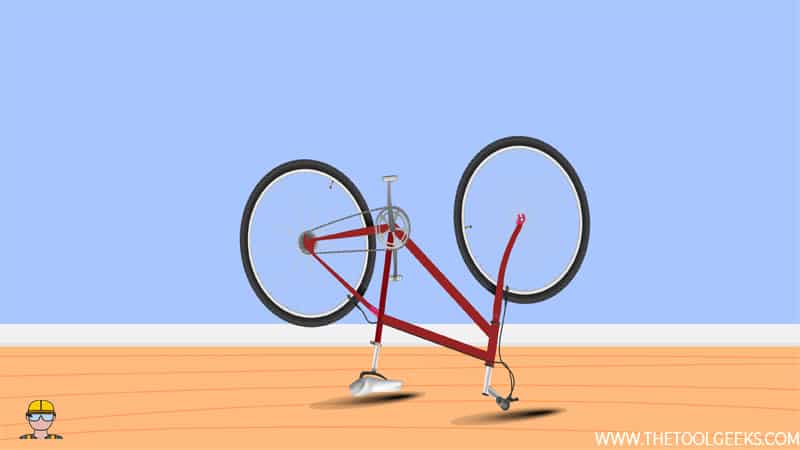
Before starting to paint your bike you have to put it in a bike mount. This is an easy step if you already have bike mounts. If you don’t, then you can always buy it.
Or, you can put layers of newspaper on the ground and then put the bike upside down. The newspapers will protect the ground from the paint.
Alternativity, you can use ropes and hang the bike in a tree, and then start re-spraying your bike.
Step 5 – Start Spraying
This is one area where I have to calm your fears. If you think you need to be a Leonardo da Vinci to give you a bike a good spray-painting, then think again. What you will need to do, though, is to follow a few tips which I will be showing you:
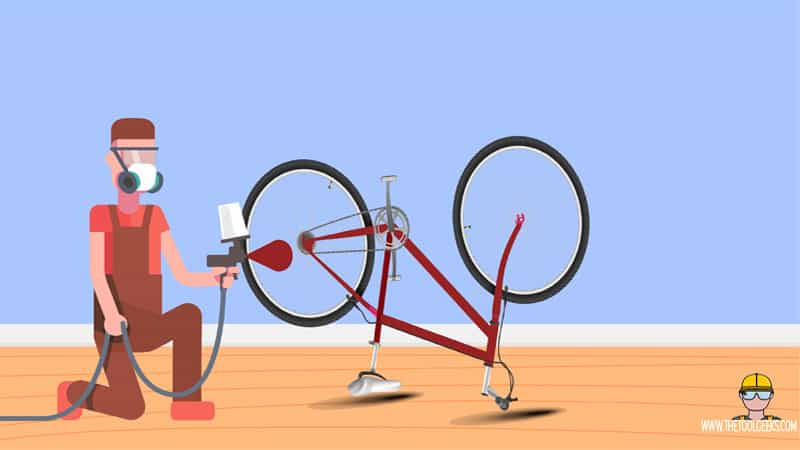
Make sure that you paint layer by layer…
After the first layer, you should let the paint dry for some time to apply a second layer then. Also, make sure to transition quickly from side to side
A side-to-side pattern of movement is most suited to your painting. This is because you want to achieve an even layer. It will cut an unpleasant sight for one area to be more colored than the other being the painting superstar wannabe that we are.
Concentrating your painting efforts for too long on one spot can make that spot appear more colored or thicker than the others, and this is not what you want. So, it would help if you shared the attention to all areas equally. So, keep it sweet, steady, and like they say—kiss your darlings.
Read More — Best Paint Sprayer For Lacquer
Step 6 – Let the Paint Dry Off
Now you have finished painting, and your bike is a beauty to behold once again. But not so fast, you’re not done yet. You have to let your paint dry off. Like any great thing, this process needs time and demands that you master the virtue of patience.
If you have a lot of time on your hands, especially if you’re doing this at home, you can always leave the paint to dry overnight before you go on to spray the sealer. Also, make sure to keep a rug close by if the spray paint hits places that are not targeted or not protected with the tapes.
After the paint has dried up, then you can proceed to remove the foil, newspapers, duck tape, or masking tapes. That you have already used to cover the areas you want to protect from the paint.
Read More — How To Make Paint Dry Faster?
Step 7 – Get Creative If You Want
If you feel like you need to add more coloring to the two layers, you can always feel free to add a third layer if you want.
You can also then choose to add some aesthetic flair to the already newly painted bike. You could be creative enough to add stickers or other accessories on your bike to add that extra oomph that you may be searching for.
Read More — Best Portable Paint Sprayers
Final Thoughts
As already seen, there is no one-size-fits-all method when spray-painting your bike. There’s a vast catalog of supplies you can use to get your bike’s spray painting done fast and efficiently. But overall, it is a gratifying experience.
The entire process costs around just below xxx$ bucks. In this day and age, that’s cheap as chips if you ask me—when you think about the reward—a shiny, nicely painted bike that mirrors your style and your aesthetic flair.
The level of detail you need to apply to get the job done can be an awful lot. But once you get it right, by using the tips we have shown you, your bike’s fresh as mint, you will be happy with yourself, and your bike as well.
Amazon and the Amazon logo are trademarks of Amazon.com, Inc, or its affiliates.
