
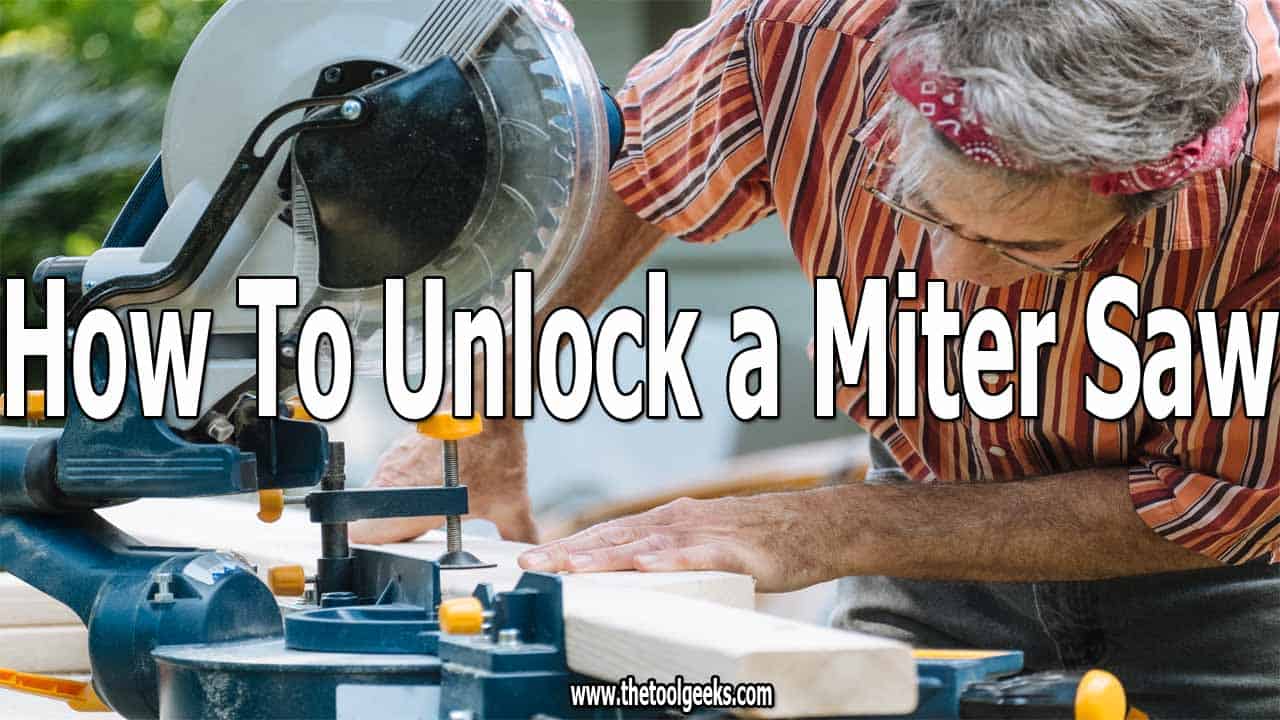
How To Unlock a Miter Saw (5 Quick And Easy Steps)
TheToolGeeks.com is a participant in the Amazon Services LLC Associates Program and other affiliate advertising programs. We may earn from qualifying purchases. (Learn More).
Did you know that unlocking your miter saw is a very easy task that can be completed in less than a minute?
Sometimes, you get so eager to perform a task and at the moment of action, something unexpected stops you. It might be a minor problem you did not account for or a tool you forgot to bring along.
In the case of using a miter saw, this little problem might be unlocking the miter saw before use. Believe it or not, not everyone that knows how to use a miter saw can unlock the saw. Most people learn how to use the miter saw and are so eager to cut with it.
They plan, measure, mark out the points to cut on the wood, put on the safety gear, and at the last moment, they figure out the miter saw is locked and they have no idea how to get it unlocked. If you have ever been, or are in such a situation, then you know this can be a real spoiler.
Don’t fret though. This article will teach the easy steps involved in unlocking your miter saw, so sit tight and enjoy or simply apply the steps as you read them.
What is a Miter Saw?
Before we go over the steps involved in unlocking a miter saw, let’s take a look at what the miter saw is. A miter saw is a widely-used saw found in virtually every woodworking shop.
The shape and features of the miter saw make it a good choice for making precise crosscuts, bevel cuts, angled cuts, and other cuts. The miter saw is usually lowered on the material to make cuts.
One type of cut that isn’t recommended to try while using the miter saw is to attempt to rip a board or plank. The miter saw isn’t built for that. It is also important to note that a chop saw is different from a miter saw. People tend to use both terms interchangeably thinking they are the same.
We have reviewed a bunch of 10-inch miter saws and made a top 5 list. Check here our list!
Parts of a Miter saw
The following are the common and most important parts of a miter saw.
The blade: this is the sharp steel that is rotated to make the cuts. The blade of a miter saw comes in different sizes ranging from 7.5 inches to 12 inches. As with all blades, the higher the number of teeth, the finer the blade, and the lower the number of teeth, the higher the aggressiveness of the blade.
The blade guard: the guard protects the blade and keeps it covered when not in use. The guard can be moved to the back of the saw to expose the blade before sawing.
The fence: this helps you keep the board steady while cutting. The fence on the miter saw is the guide you hold your board against while cutting. It is usually made of stainless steel or aluminum. The main function of the fence is to ensure you get an accurate cut.
The miter gauge: this is the distinct feature of the miter saw. The miter gauge makes angled cuts possible with the miter saw. It has a lever attached to it which allows the user to turn and set the table to the angle that is desired.
The bevel gauge: just as the miter gauge which allows the user to make angled cuts with the miter saw, the bevel gauge allows the saw to make accurate bevel cuts. The bevel gauge is usually located beneath or behind the blade.
The handle: this is the part of the saw you hold on to while making cuts. It is usually made of plastic or rubber.
The trigger: this is usually a button located beneath or near the handle. This serves as the start and stops button on the miter saw.
The slide: this is a feature at the back of the miter saw that prevents the miter saw from moving.
The knobs: the miter saw has many knobs. The knobs can be up to 5 or 6 in some saws.
Tools needed to unlock the miter saw
- A pair of gloves: this is practically the only tool you need to unlock your miter saw.
[wps_alert type=”secondary”]Related Read — Best Battery-Operated Miter Saws[/wps_alert]
Why is a Miter Saw Locked?
Like every other power tool, it is advised to keep the miter saw locked when not in use. Leaving the saw accessible can be dangerous if you have kids or unsuspecting persons around.
The blade of the saw can cause serious injuries in the hands of an amateur, so always keep the miter saw locked when not in use for everyone’s safety.
Also, locking the miter saw when not in use is a vital part of taking care of the saw to ensure its durability and prevent damages.
[wps_alert type=”secondary”]Related Read — How to Square a Miter Saw?[/wps_alert]
How to Unlock a Miter Saw
If you don’t unlock the miter saw, you can’t use it because there will be no movement. It is that simple. Unlocking a miter saw is a very easy task if you follow the steps below or know what you are doing. Let’s get to it.
Put on Your Safety Gear and Remove The Cord
when working with any power tool or machine, it is advised to always keep your body protected. So put on a pair of work or leather gloves. If your miter saw is plugged in, remove the cord and make sure the saw is turned off.
Unlock The Slide
The slide is located at the back of the miter saw. The slide is usually made up of two silver rods that keep the miter saw locked in place.
To unlock the slide, there is a knob just on the side of the slide. Loosen the knob by turning it to the left until it’s loose. When the knob is loose, you will be able to move the saw back and forth. The slide is specifically built to lock the sliding miter saw.
The sliding miter saw is a type of miter saw that allows the user to move the blade forward and backward while sawing. Most miter saws are sliding saws.
[wps_alert type=”secondary”]Related Read — How to Change a Miter Saw Blade?[/wps_alert]
Pull Down The Position Knob
after you have loosened the slide, you should now pull down the position knob to allow you to raise and drop the miter saw. This knob is usually spring operated and colored black.
It is located on the side of the saw, just behind or beside the blade. Pull the knob outwards and you should be able to lift and drop the saw in an up and down motion.
Modern miter saws may require you to twist the knob before pulling, but just pulling the knob works on nearly all miter saws. As a safety precaution, be careful when lifting and lowering the saw.
The blade guard automatically gives way when you lower the saw, thereby exposing the blade and it goes back in place when you lift the saw to cover the blade.
Loosen The Table Knob
to make angled cuts, you need to be able to move the table to the desired angle. However, you can’t do this if the table is locked. To unlock the table, simply loosen or pull the knob at the front of the saw.
This makes the table free and therefore easy to move. Now you can make your 45-degree angled cut. Always ensure you lock the table after you set it to the desired angle.
Rotate or Pull The Bevel Knob
this feature is not accustomed to all miter saws. Unlocking the bevel knob makes it possible for the user to tilt the saw either to the right or left.
Some saws allow the user to tilt the miter saw both ways. This makes bevel cuts possible. The bevel knob is usually located beneath the blade or on the base of the miter saw. It is also called the bevel gauge.
If your miter saw has any additional lock feature or knob, just pull or twist it to unlock the knob or simply check the miter saw’s manual. However, I sincerely doubt there will be any other lock on your miter saw apart from the ones mentioned above.
[wps_alert type=”secondary”]Related Read — Difference between 10-inch vs 12-inch Miter Saw[/wps_alert]
Safety Measures to Follow When Attempting To Unlock The Miter Saw
- Always use gloves.
- Always ensure no loose clothing, hair or jewelry can get stuck to the miter saw.
- Always consult the manual of your miter saw if anything seems unclear.
- Always take note of the position of the blade guard when you lower or raise the saw.
- Always lock the miter saw after use.
Follow the steps and precautions above and you will be able to unlock your miter saw yourself. Be sure to leave a comment below and check out other articles on this website. Have a super miter saw unlocking experience.
Amazon and the Amazon logo are trademarks of Amazon.com, Inc, or its affiliates.

We’re a team of engineers, contractors, technicians, and woodworking experts who use power tools daily and share fact-based information, tips, and recommendations. At thetoolgeeks.com, we debunk myths about power tools and share methods to use them effectively.