

Best Spacing for Drywall Screws: Detailed Guidelines
TheToolGeeks.com is a participant in the Amazon Services LLC Associates Program and other affiliate advertising programs. We may earn from qualifying purchases. (Learn More).
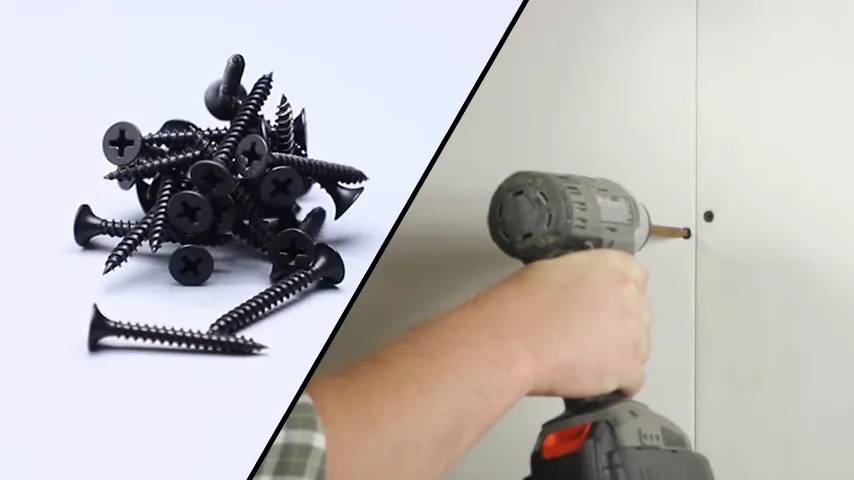
Drywall screws are responsible for holding up the entire structure of your walls and ceilings. Using drywall screws with a specific spacing ensures a smooth and secure installation. So knowing the best spacing for drywall screws makes a big difference in the safety, durability, and overall quality of your project.
Generally, when working with a standard 4×8 sheet of drywall, it’s best to place screws 8-16 inches apart on each side. However, for larger sheets, such as a 4×10 or 4×12, the spacing should be adjusted to fall between 10-20 inches.
We will discuss the standard spacing for drywall screws, calculating how many screws each sheet of drywall needs, and other aspects related to the spacing of drywall screws.
Guidelines for the Best Spacing for Drywall Screws
In order to ensure optimal drywall installation, particular screw spacing requirements need to be taken into account:
- Spacing for drywall screws on wall edges
- Spacing for drywall screws within the wall field
- Spacing for drywall screws along ceiling edges
- Spacing for drywall screws within the ceiling field
1. Spacing for Drywall Screws on Wall Edges
When installing drywall screws on the edges of 4’x 8′ drywall panels, it is recommended to use an edge spacing of 8 inches apart.
You need to maintain a distance of ½ to ⅜ inch away from the edge of the 4’x 8′ drywall panel. This measured gap prevents issues like crumbled drywall edges and ensures a smooth and durable finish.
2. Spacing for Drywall Screws Within the Wall Field
The recommended screw spacing within a 4’x 8′ drywall panel wall field is typically 16 inches. This spacing ensures the drywall is properly secured to the wall studs, providing stability and preventing sagging or bulging.
3. Spacing for Drywall Screws Along Ceiling Edges
Most woodworkers recommend spacing screws 7 to 8 inches apart along the ceiling edges. Maintain a distance of ½ to ⅜ inches from the edge of the 4’x8′ drywall panel. This meticulous spacing ensures a secure attachment that can withstand the forces of gravity.
4. Spacing for Drywall Screws Within the Ceiling Field
Within the main field of the ceiling, where the majority of the drywall is affixed, the recommended spacing for screws is 12 inches apart. Adhering to this guideline aligns with industry standards, such as those set by the International Residential Code (IRC) and the U.S. Gypsum Company (USG).
Recommended Drywall Screw Spacing Chart for 4’X8′ Panels at a Glance
Area | Spacing Recommendation | Additional Considerations |
Wall Edges | 8 inches apart | Maintain a distance of ½ to ⅜ inch from the panel’s edge to prevent crumbled edges and ensure a smooth finish. |
Wall Field | 16 inches apart | Ensures proper securing of drywall to wall studs, preventing sagging or bulging. |
Ceiling Edges | 7 to 8 inches apart | Maintain a distance of ½ to ⅜ inch from the panel’s edge for secure attachment against gravity. |
Ceiling Field | 12 inches apart | Adheres to industry standards for even weight distribution and a level ceiling surface. |
How to Calculate the Number of Screws Required per Sheet of Drywall?
To calculate the number of screws needed per sheet of drywall, you can use a basic calculation method or a more accurate calculation method.
The easiest way to figure out how many screws you need per sheet of drywall is to buy approximately one screw per square foot. It provides a quick estimate suitable for a wide range of projects.
All you have to do is measure the total square footage of your drywall surface and then purchase screws accordingly. You may need to purchase a few extra screws to be on the safe side.
Factors Influencing Drywall Screw Spacing
While achieving the recommended drywall screw spacing is essential for a successful installation, various factors can affect this spacing, such as:
1. Drywall Thickness
Your drywall’s thickness will greatly influence the screw spacing required for proper installation. Thicker drywall may require more frequent screw placement to prevent sagging and ensure a secure attachment to the studs.
Conversely, thinner drywall may allow for wider spacing between screws while still maintaining adequate support.
2. Drywall Panel Size
The size of your drywall panels will also influence the screw spacing necessary for proper installation. Larger panels will require additional screws to prevent sagging and flexing, while smaller panels may allow for slightly wider screw spacing.
3. Type of Drywall Screws
Different types of screws are available for drywall installation. The type of screws you choose for your drywall installation will also influence the recommended screw spacing.
Coarse-thread screws are commonly used for wood framing and require closer spacing to ensure a secure attachment. In contrast, fine-thread screws are suitable for metal framing and may permit wider screw spacing.
4. Moisture Level
The moisture level of your environment can significantly impact the integrity of your drywall installation and influence the necessary screw spacing. In high humidity or moisture-prone areas, it may be advisable to use more screws to prevent sagging caused by drywall expansion.
Significance of Standard Drywall Screw Spacing
Standard drywall screw spacing holds paramount significance, including the following:
1. Ensuring Structural Stability
You’ll achieve optimal structural stability by maintaining consistent and precise spacing when installing drywall screws. The spacing between drywall screws is vital as it ensures that the drywall is securely fastened to the wall studs or joists, providing a solid foundation for the entire installation.
2. Preventing the Occurrence of Cracks
To minimize the risk of cracks forming on the surface, maintaining proper spacing between drywall screws is crucial. Inadequate spacing can lead to drywall flexing, which, over time, can develop cracks.
Using the standard spacing guidelines reduces the likelihood that the drywall will flex, preventing cracks from forming.
3. Achieving Smooth Seams
Proper drywall screw spacing is key for maintaining flatness in the drywall installation. The standard spacing ensures that seams remain level, facilitating the creation of smooth and seamless joints. This contributes to a visually appealing and professionally finished appearance.
4. Preventing Bulging and Popping
Spacing your drywall screws will prevent bulging and popping, ensuring a sturdy and flawless installation. When screws are spaced too far apart, the drywall sheets may sag, leading to visible bulges on the surface.
On the other hand, if screws are placed too close together, the drywall can become stressed and may pop out, compromising the strength of the installation.
How to Properly Insert Drywall Screws With Appropriate Spacing: Steps to Follow
To properly insert drywall screws with the correct spacing, you’ll need to follow a few steps.
Step 1: Gather the Necessary Tools and Materials
Before you begin, ensure you have all the essential tools and materials at hand. These include a drill or driver, various drill bits, a stud finder, a tape measure, and a claw hammer. Also, you’ll need self-tapping screws specifically designed for drywall installation.
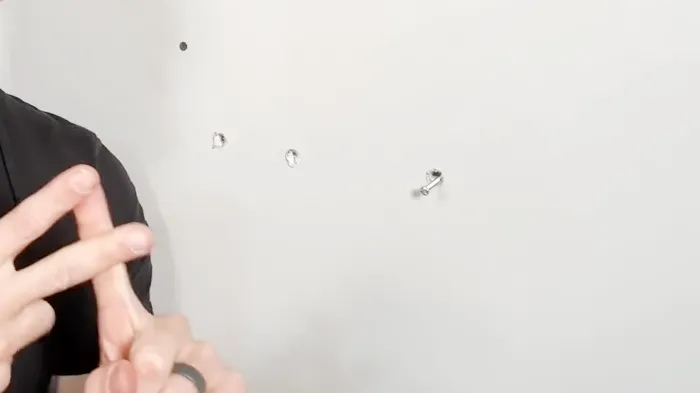
Step 2: Measure and Mark Screw Locations
Once you have all the necessary tools and materials, it’s time to measure and mark the screw locations. Using a tape measure, determine the location of the screws and mark them accurately according to the recommended screw spacing.
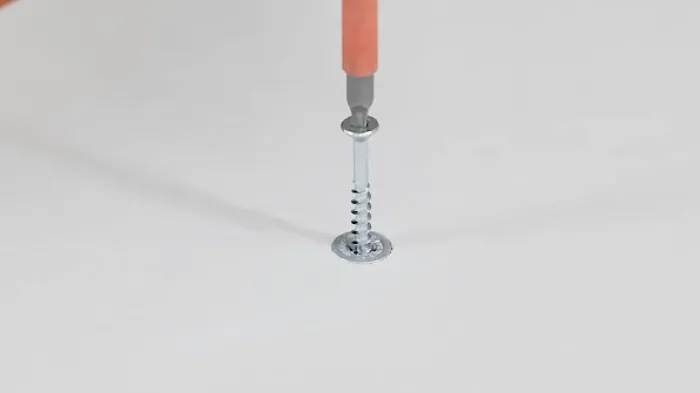
Step 3: Pre-drill the Holes
To ensure a smooth and successful installation of the drywall, you need to pre-drill the holes before inserting the screws. Use an appropriately sized drill bit to pre-drill holes for the screws at the marked locations.
It’s imperative that the holes are deep enough to hold at least two turns of each screw. Pre-drilling prevents the drywall from cracking and facilitates smoother insertion of the screws.
Step 4: Insert the Screws
Now, secure the screws into the wall studs or joists using the drill or driver. Make sure to insert the screws straight into the pre-drilled holes, ensuring a tight and secure fit. This will ensure the drywall remains flat against the wall, minimizing any potential bulges or gaps.
Common Mistakes to Avoid When Inserting Drywall Screw With Proper Spacing
When inserting drywall screws with proper spacing, there are several common mistakes that you should avoid, such as:
1. Over-Tightening Screws
Avoiding over-tightening screws is crucial when inserting drywall screws at the correct spacing. While it may be tempting to tighten the screws as much as possible, doing so can have negative consequences.
Over-tightening can result in bulging and cracking of the drywall, compromising its integrity and leading to costly repairs. You have to balance a secure connection and excessive force. Applying just the right pressure ensures the drywall remains stable and structurally sound.
2. Using Large Head Wood Screws
To ensure a smooth and professional finish, you need to avoid using large head wood screws on drywall. Large head wood screws aren’t designed for drywall installation and can lead to various issues.
The larger heads can create uneven surfaces, making it difficult to achieve a seamless finish. Also, these screws may not sit flush with the drywall surface, causing bumps and imperfections.
3. Driving Nails Into Existing Walls Without Spacers or Shims
If you’re working on a renovation project that involves adding new drywall to existing walls, avoid the mistake of driving nails directly into the wall without using spacers or shims.
This oversight can lead to uneven surfaces and compromise the stability of the new drywall. Properly spacing and securing the new drywall against the existing structure is essential for achieving a seamless and professional-looking finish.
4. Not Checking for Moisture Before Installing
It is essential to test for moisture before installation. This includes checking for leaks, condensation, or dampness on the walls or surrounding areas. Use a moisture meter to accurately measure the moisture content in the drywall and ensure that it falls within the acceptable range.
Moisture can have detrimental effects on drywall, such as warping and the growth of mold. So, neglecting to check for moisture risks compromising the drywall’s longevity and durability.
Should you orient drywall vertically or horizontally while maintaining proper screw spacing?
The decision to orient drywall vertically or horizontally should be based on the nature of your project and any relevant building codes. For commercial jobs, fire codes often dictate vertical hanging to ensure seamless framing.
In contrast, horizontal orientation for walls nine feet or shorter is preferred for residential jobs. This brings several benefits, including efficiency in installation by minimizing seams and simplifying the taping and finishing process.
However, regardless of orientation, proper screw spacing must be maintained for structural support. So, when deciding how to hang your drywall, consider the specifics of your project and adhere to the necessary screw spacing for a sturdy and secure finished product.
Which size drywall screws, number 6 or number 8, should you use with proper spacing for installing drywall?
Regarding the appropriate size of drywall screws for installation with proper spacing, #6 gauge screws are suitable for standard applications. However, if you’re working with older wood or studs that require more gripping power, it’s advisable to use #8 gauge screws.
How do you determine the appropriate length of screws needed for drywall installation?
When figuring out the right length of screws for your drywall installation, you should consider the thickness of the drywall panels. If you’re dealing with 1/2-inch drywall, opt for 1-1/4 or 1-3/8-inch screws.
For 5/8-inch drywall panels, it’s recommended to use screws that are 1-3/8-inch or 1-5/8-inch in length. This ensures a secure and effective attachment, considering the specific requirements of the drywall thickness.
Install Your Drywall Properly with Precise Screw Spacings and Achieve Perfect Results
Maintaining proper spacing for drywall screws is pivotal for the success of your plasterboard installation project. Adhering to recommended guidelines ensures structural stability, prevents issues like bulging or cracking, and contributes to a polished finish.
Whether you’re securing drywall on wall edges, within the field, along ceiling edges, or within the ceiling field, accuracy is key. Calculate the number of screws accurately to avoid shortages, and be mindful of factors like drywall thickness, panel size, screw type, and moisture levels.
When you avoid common mistakes during installation and understand the importance of standard spacing, your walls and ceilings will be strong, durable, and beautiful.
Amazon and the Amazon logo are trademarks of Amazon.com, Inc, or its affiliates.

We’re a team of engineers, contractors, technicians, and woodworking experts who use power tools daily and share fact-based information, tips, and recommendations. At thetoolgeeks.com, we debunk myths about power tools and share methods to use them effectively.