
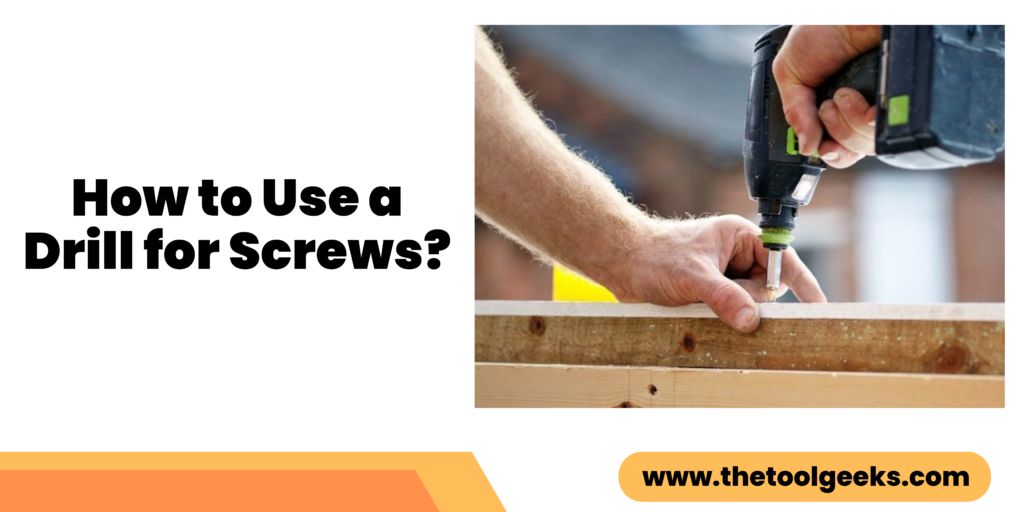
How to Use a Drill for Screws: A Step-by-Step Guide
TheToolGeeks.com is a participant in the Amazon Services LLC Associates Program and other affiliate advertising programs. We may earn from qualifying purchases. (Learn More).
Using a drill for screws, both to drill the screw pilot hole and to put the screw into the material is a common task in many DIY projects. Whether you’re hanging shelves or building furniture, knowing how to use a drill for screws is essential. While it may seem straightforward, there are a few tips and tricks that can make the process easier and more efficient.
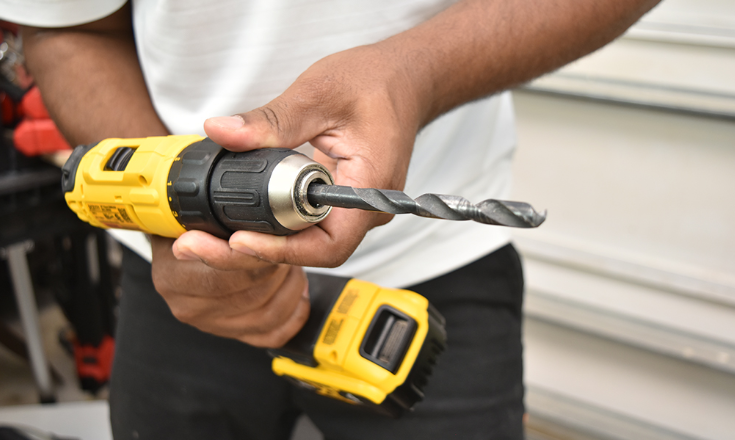
To start, it’s important to choose the right drill bit for the job. The size of the drill bit should match the size of the screw you are using. If the drill bit is too small, the screw won’t go in properly and if it’s too large, the screw won’t have anything to grip onto. Once you have the right drill bit, you can attach it to the drill and adjust the depth stop to ensure that the screw goes in at the right depth.
Another important factor to consider when using a drill for screws is the speed and torque settings. Different materials and screw sizes require different settings to ensure that the screw goes in smoothly and doesn’t strip the material. It’s important to start with a low speed and gradually increase it as needed. By following these simple tips, you can use a drill for screws with confidence and achieve professional-looking results in your DIY projects.
Types of Drills and Screws
Different Drill Types
In this section, we will discuss the different types of drills available. There are mainly three types of drills:
- Cordless Drills: These are battery-powered and very convenient for various tasks. Their portability allows us to use them anywhere without worrying about a power source.
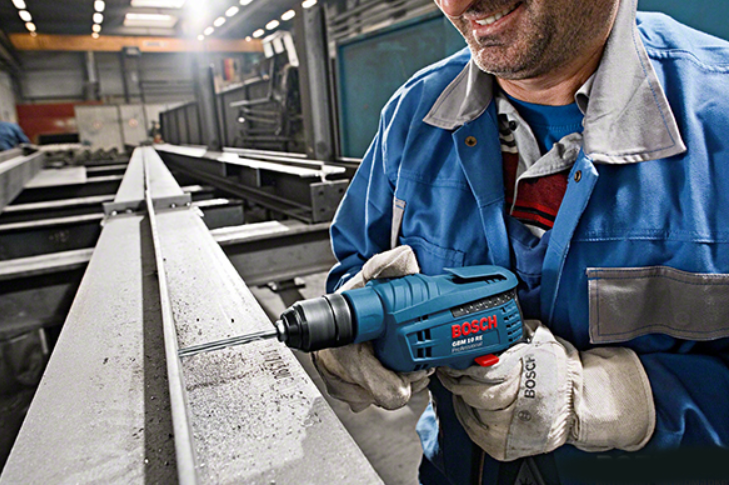
- Corded Drills: This type of drill requires a constant connection to a power source. They tend to be more powerful than cordless drills and work well for heavy-duty tasks.
- Hammer Drills: These drills have a hammering function that is helpful for drilling into challenging materials like concrete or brick. They are perfect for construction or heavy-duty projects.
| Drill Type | Pros | Cons |
|---|---|---|
| Cordless Drills | Portable, versatile, easy to use | Limited battery life |
| Corded Drills | Powerful, consistent power source | Limited mobility, needs outlet |
| Hammer Drills | Hammer function, suited for heavy jobs | Heavier, can be more expensive |
Screw Varieties
Now let’s look at the different types of screws we may encounter. Some common screw varieties include:
- Wood Screws: Designed specifically for woodworking projects, they have a sharp, pointed end for easy insertion. They come in various lengths and widths to suit different wood types and thicknesses.
- Sheet Metal Screws: These screws are excellent for attaching metal sheets, plastics, or other thin materials. They have a threaded shank, which helps hold the material securely.
- Drywall Screws: As the name suggests, these are ideal for attaching drywall to wood or metal studs. They have a bugle head and a sharp point for easy installation.
- Machine Screws: Used in conjunction with a nut or threaded hole, machine screws are perfect for securing parts of machines or electronics together. They have a flat or oval head and can be found in various materials like brass, steel, or aluminum.
Here is a summary of the screw characteristics:
| Screw Type | Application | Features |
|---|---|---|
| Wood Screws | Woodworking projects | Sharp end, various sizes |
| Sheet Metal Screws | Metal sheets, plastics | Threaded shank |
| Drywall Screws | Attaching drywall | Bugle head, sharp point |
| Machine Screws | Machines, electronics | Flat or oval head, various materials |
Steps of How to Use a Drill
Setup the Drill
Before starting to use a drill for screws, it is important to prepare the drill properly. Here are a few steps to follow:
- Choose the Right Drill Bit: Make sure to choose the right drill bit for the screw you will be using. To ensure a snug fit, the drill bit should be slightly smaller than the screw size when using a drill. If the drill bit is too big, the screw will not hold properly.
- Adjust the Drill Speed: Most drills have different speed settings. For screws, it is best to use a slower speed to prevent the screw from stripping or the bit from overheating. Adjust the speed accordingly before starting to drill.
- Secure the Drill Bit: Make sure the drill bit is securely attached to the drill. If it is loose, it can cause damage to the drill or the screw.
- Check the Battery: If using a cordless drill, make sure the battery is fully charged or has enough power to complete the job. It is frustrating to have the battery die midway through the project.
- Wear Safety Gear: Always wear safety glasses and gloves when using a drill. Wearing safety goggles and gloves safeguards your eyes and hands against potential hazards like flying debris and sharp edges.
By following these simple steps, the drill will be properly prepared for use with screws.
Choosing the Right Screwdriver Bit
When it comes to using a drill for screws, choosing the right screwdriver bit is crucial. The right bit ensures that the screw is driven correctly and securely into the material. Here are some tips to help you choose the right screwdriver bit for your project:
Tip #1: Match the Bit to the Screwhead
There are many types of screw heads, including Phillips, slotted, square, Torx, and more. Each screw head requires a specific screwdriver bit. Make sure to match the bit to the screwhead to prevent stripping or damaging the screw.
Tip #2: Consider the Material
The material you’re screwing into also plays a role in choosing the right bit. For example, if you’re screwing into metal, you’ll need a bit that’s designed for metal. Using the wrong bit can result in a stripped screw or a damaged bit.
Tip #3: Size Matters
The size of the screw also determines the size of the screwdriver bit you need. Make sure to choose a bit that matches the size of the screw. Using a bit that’s too small can result in a loose screw, while using a bit that’s too big can strip the screw.
Tip #4: Invest in Quality Bits
Investing in quality screwdriver bits can save you time and frustration in the long run. Cheap bits are more likely to strip or break, while high-quality bits can handle tough jobs and last longer.
By following these tips, you can choose the right screwdriver bit for your project and ensure that your screws are driven correctly and securely.
10 Steps of How to Use a Drill for Screws
Using a drill for screws is a common and convenient method for fastening materials. Here’s a step-by-step guide to help you use a drill for screws effectively:
Step 1: Gather the necessary tools ensure that you have the following items readily available:
- A Drill: Cordless drills are the most common, but corded drills work as well.
- Appropriate Drill Bits: Choose a bit that matches the size of the screw you’ll be using. For example, if you’re using a ¼-inch screw, select a ¼-inch drill bit.
- Screws: Select the appropriate size and type of screws for your project.
Step 2: Prepare the drill If you’re using a cordless drill, ensure the battery is fully charged. For corded drills, plug it into a power outlet. Insert the correct drill bit into the chuck (the part that holds the bit) and tighten it securely.
Step 3: Mark the spot Use a pencil or marker to mark the spot where you want to insert the screw. This helps ensure accuracy and prevents the drill from slipping.
Step 4: Adjust the drill’s settings Most drills have adjustable settings for speed and torque. Set the speed and torque according to the type of material you’re working with. Lower speeds are suitable for delicate materials, while higher speeds work well for harder materials.
Step 5: Position the drill Hold the drill with both hands, grasping the handle firmly. Position the drill perpendicular to the surface where you marked the spot for the screw.
Step 6: Drill a pilot hole (if necessary) If you’re working with hardwood or dense materials, it’s often helpful to create a pilot hole. A pilot hole is a smaller hole drilled into the material before inserting the screw. It helps prevent the wood from splitting and facilitates easier screw insertion. Choose a drill bit slightly smaller than the screw diameter and drill a hole to the appropriate depth.
Step 7: Begin drilling Press the trigger gently to start the drill. Apply steady pressure and keep the drill perpendicular to the surface. Allow the drill bit to penetrate the material gradually.
Step 8: Insert the screw Once the hole is drilled, release the drill’s trigger. Remove the drill bit from the hole and replace it with the appropriate screwdriver bit. Insert the screw into the hole and hold it steady with one hand.
Step 9: Drive the screw Press the trigger of the drill to start rotating the screwdriver bit. Apply downward pressure on the drill while keeping it aligned with the screw. This action will secure the screw firmly into the material. Continue until the screw is fully driven, but be careful not to overtighten and strip the screw or damage the material.
Step 10: Repeat the process If you have multiple screws to install, repeat steps 3 to 9 for each screw.
Using a drill for screws can make your projects more efficient and save you time. Remember to wear safety goggles to protect your eyes, and always follow the manufacturer’s instructions for your specific drill model.
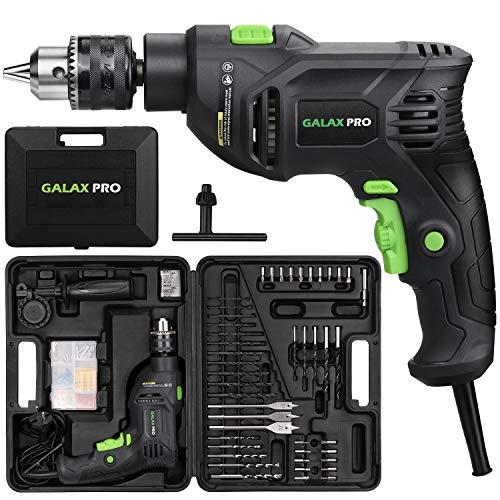
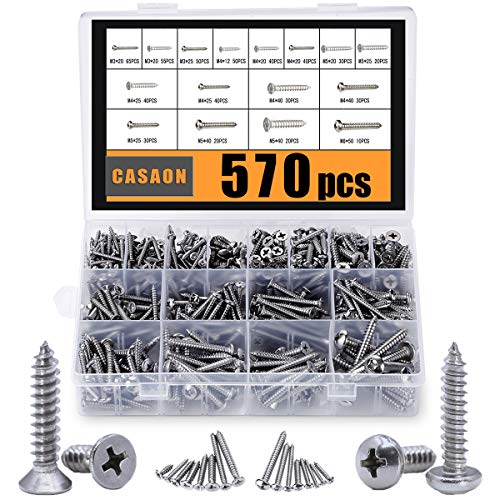
Recommended Drills and Screw Kits
| Image | Product | Features | Price |
|---|---|---|---|
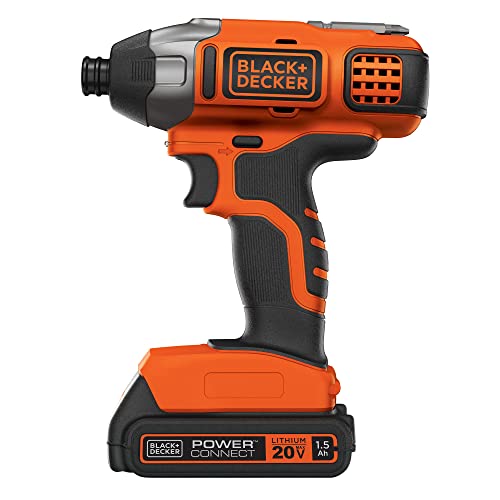 | BLACK+DECKER 20V MAX* POWERCONNECT 1/4 in. Cordless Impact Driver Kit (BDCI20C) |
| Check Price |
 |
| Check Price | |
 |
| Check Price | |
 |
| Check Price | |
 |
| Check Price | |
 |
| Check Price | |
 |
| Check Price |
Conclusion
Using a drill for screws is a practical and efficient method for fastening materials. By following the step-by-step guide, you can successfully use a drill to insert screws into various surfaces. Also, remember to gather the necessary tools, prepare the drill, mark the spot, adjust the settings, position the drill correctly, drill a pilot hole if needed, and then begin drilling. After drilling the hole, insert the screw and drive it into the material using the drill. Repeat the process for additional screws. With these guidelines, you’ll be able to use a drill effectively for screwing tasks, making your projects easier and more efficient. For more such informational tools’ knowledge visit The Tool Geeks‘ other blogs.
Amazon and the Amazon logo are trademarks of Amazon.com, Inc, or its affiliates.

We’re a team of engineers, contractors, technicians, and woodworking experts who use power tools daily and share fact-based information, tips, and recommendations. At thetoolgeeks.com, we debunk myths about power tools and share methods to use them effectively.