How to Sand Drywall (6 Steps)
TheToolGeeks.com is a participant in the Amazon Services LLC Associates Program and other affiliate advertising programs. We may earn from qualifying purchases. (Learn More).
Sanding drywall is one task requiring caution and a good knowledge of the steps involved in the task. This is because sanding drywall differs from sanding your regular wooden surfaces.
For starters, sanding drywall produces a lot of dust so you will need to do a lot of cleaning before and after sanding. There is also the problem of having swirling marks on the drywall after sanding.
Not to mention the fact that you have to do all these while being exposed to the dust and silica from the drywall. A lot can go wrong if you aren’t experienced with sanding drywall.
So, knowing the right tools, methods, and steps to follow while sanding drywall is important. So how do you know these? Well, you are in luck because this post will address this.
Can You Sand Drywall?
Yes, you can sand drywall. Sanding drywall is a great method to make your drywall surface smooth. When it comes to sanding drywall, there are two ways to go about it. You can either dry sand or wet sand.
Any of the two methods would give you a very good sanding result depending on how experienced you are with the method you pick.
Both methods also have their advantages and disadvantages. However, for this guide, the wet-sanding method is recommended, and for a good reason. But first, let’s check out dry-sanding.
Should You Dry-Sand or Wet-Sand Drywall?
Both methods are great, and either will give you a good sanding result. However, it’s usually recommended to wet sand. Wet-sanding is cleaner, and it doesn’t pose any health threat. Dry-sanding produces toxic substances in the body, so wet-sanding is better health-wise.
In terms of the smoothness of the sanding result, dry-sanding edges are over wet-sanding. Dey-sanding produces smooth and clean drywall. This doesn’t mean that the sanding result of wet sanding is bad or not good enough; it is. It just isn’t as fine and smooth as the finish of dry-sanding. So dry-sanding is better performance-wise.
Though dry-sanding spews a lot of dust into the air, the effect of the dust can be very limited if you cover all the objects in the room and you use your safety gear.
The drop cloth, safety goggles, breathing mask, and pair of gloves will reduce the effect of the dust on you and your furniture. If you can ensure adequate protection for yourself and the objects in the room, then dry-sanding is the best bet.
What Tools Do You Need To Sand Drywall?
Dry-sanding is a widely used method of sanding drywall. The technique involves using fine-grit sandpaper to sand the drywall in a circular motion.

This method of sanding drywall is the same as the regular sanding technique. It would help if you rubbed the abrasive side of the sandpaper against the joints and edges of the drywall. For dry-sanding, you will need the following: A pair of gloves to prevent bruises to your palm while sanding the drywall.
- A pair of gloves to prevent bruises to your palm while sanding the drywall
- A pack of fine-grit sandpaper. Fine grit sandpaper is the sandpaper that has a grit of 150 and above.
- A pair of goggles to prevent dust and silica from entering your eyes
- Quality breathing protection to prevent dust and silica from entering your lungs.
- A plastic sheet or a drop cloth to cover the floor while sanding
- Duct tape or painter’s tape to tape off objects and hold the drop cloth or plastic sheet
- Rags
- Joint compound
- Sanding Pole
- A plastic putty knife
How To Dry Sand Drywall?
Putting on Your Safety Gear
Your safety gear includes everything that you can use to protect yourself from injuries while sanding. Put on a pair of gloves to prevent bruises on your hands. Put on your breathing protection like a face mask and a pair of goggles before taking on this task.
One prominent feature of dry-sanding is that it spews a lot of dust and this dust isn’t just wood shavings. Drywall is made from different materials and not just wood.
So, if you sand off parts of the drywall, the powder released in the air is a mixture of dust and silica which can be very harmful if inhaled or if it enters your eyes. So, protect yourself.
Related Read — Should You Sand Epoxy Resin?
Cover the Floors and Other Objects
After protecting yourself, the next thing to do is to protect the floor and the other objects in the room. Sanding as stated earlier, spews a lot of dust. So, unless you want to spend days cleaning dust off the floor and other objects in the room, you should cover them.
Use a drop cloth or plastic sheet to cover the floors. You can use nylons and other dust-proof materials to cover the remaining objects, like electronics and shelves in the room. If there is any object you can move out of the room, you should.
You should also use duct tape to hold the drop cloth to the floor so it doesn’t shift as you move on it while sanding. Open all the doors and windows to allow adequate ventilation.
Clean the Drywall
Before you sand the drywall, you need to prepare it first. This includes cleaning the drywall and repairing it. You need to clean the drywall to remove any dirt, debris, or item that is on the drywall. It doesn’t matter if the drywall is dusty or clean since we would be sanding it anyway.
But it matters if tiny objects are stuck to the drywall because they can wear out the sandpaper quickly.
Repair Drywall
The next thing to do after cleaning is to repair the wood. You will notice gouges, cracks, dents, and other damages in the drywall when you want to sand it.
It may be from old holes that have been previously drilled into the wall or damages that occurred from old age, pest infestation, or some other reason. These cracks and dents should be repaired before you sand.

Sanding is usually done before finishing the drywall so if you don’t repair the damages in the drywall before sanding and you go ahead to finish the drywall with the damages, the finish will be ruined. This is why these damages are repaired before sanding.
You can use a joint compound to seal and repair any cracks or holes in the drywall. A joint compound is a paste-like substance that can be applied to cover the damages in the drywall.
When the joint compound gets dry, it can also be sanded with the drywall to produce a damage-free and most importantly, well-sanded drywall.
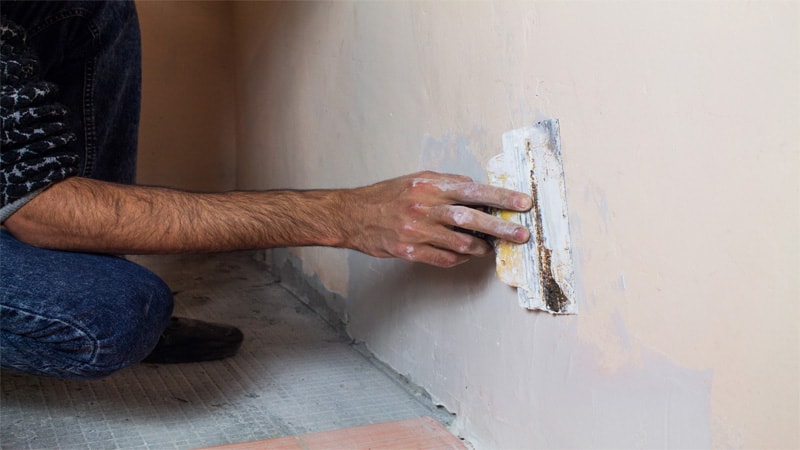
Use the putty knife to scoop some joint compound from the container and apply it over the hole or crack in the drywall. You can apply two layers of the joint compound with the putty knife.
After applying it, you should flatten the affected spot with the putty knife and wait for the joint compound to dry. It can take minutes or hours for the joint compound to dry. You can check the container of the joint compound to see its drying time.
If the hole or crack in the drywall is too large, then the joint compound alone might not fix the problem. You should call a carpenter to fix such damages first.
Related Read — Sanding a Table Tips
Sand the Drywall
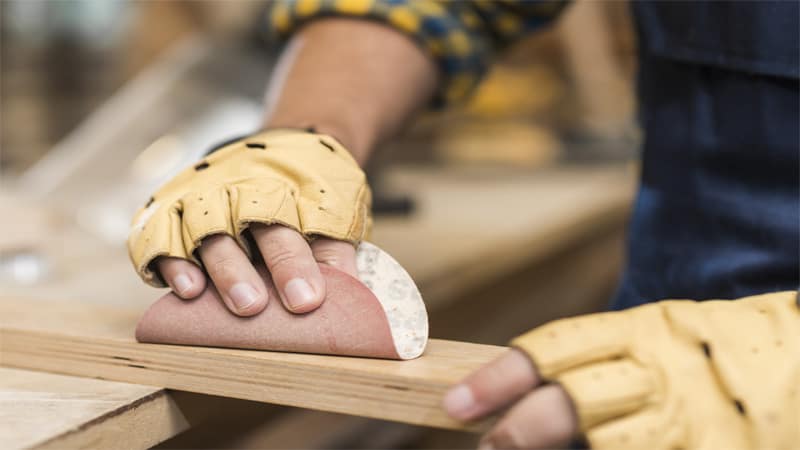
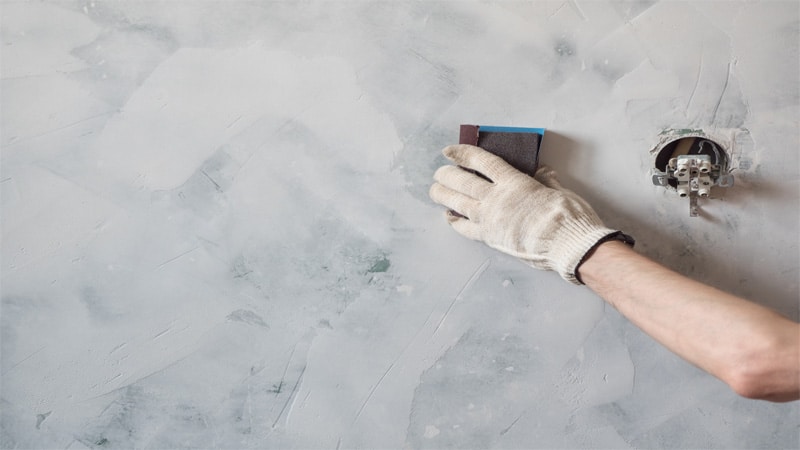
After repairing the drywall, you can go ahead to sand. I usually start with 100-grit sandpaper, but that’s very aggressive. If the surface of the drywall is very rough, you can start with 120-grit sandpaper and then move on to 150-grit sandpaper. If the surface isn’t too rough, you should start with the 150-grit sandpaper. Rub the abrasive side of the fine-grit sandpaper against the drywall in a repeated circular motion.
Using a straight motion to move the sandpaper will most likely result in sanding marks and imperfections. Don’t spend too much time on a spot, it’s just the first coat.
After sanding with the 150-grit sandpaper, you can file again with sandpaper of higher grit like -80-grit sandpaper. Just know that the higher the grit, the smoother the surface of the drywall will be.
So be sure of the type of finish you want to use on the drywall before picking higher grit sandpaper. There are sandpapers of 320-grit and above so consider the type of finish.
While sanding with any sandpaper, you should pay attention to the affected spots that you repaired earlier. After the joint compound dries, there might be imperfections in that spot so ensure to sand those spots well.
Drywall isn’t a surface that needs much force or coarseness. That’s why fine-grit sandpaper is used. Using coarse sandpaper on drywall is like sentencing the drywall to death. You will damage the drywall if you sand it with coarse sandpaper. So as an expert tip, do not use sandpaper below 120-grit to sand drywall.
Expert Tip: If you have a light, place it against the drywall. The light will help you to see the surface better, which helps you to understand what part of the surface you have to sand.
Dust the Wall and Clean the Workspace.
When you are satisfied with the sanding result, you should use a soft brush or a rag to dust the drywall. If you are using a rag, be sure not to use a rag with loose thread that can cause splinters in the drywall. You should also take out the drop cloth and clean the workspace or you can just go ahead to finish the drywall if that’s your plan.
How to Wet-Sand Drywall
Wet-sanding drywall is very similar to dry-sanding drywall. The only difference is that wet-sanding uses water and water-proof sandpaper while dry-sanding doesn’t use water and it uses regular sandpaper. So how do you wet-sand? Let’s find out.
For wet-sanding, you will need the same tools and materials that were stated above for dry-sanding. The only inclusion will be a bucket of water and waterproof sandpaper. Some people prefer to use a sanding sponge instead of waterproof sandpaper. Either will work fine. Just pick the one you can use and you can afford it.
Prep the Wall
To use this method to sand drywall, start by following the same preparatory steps that were stated earlier. Start by putting on your safety gear, then cover the floor and the other objects around.
This time you might want to pick a material that is waterproof rather than dust-proof. This is because a main feature of wet-sanding is there isn’t any dust.
Since water is used, the dust is eliminated but you still have to worry about drips and splashes so cover the objects and floor with water-proof material. Then you should clean and repair the drywall. You should also allow for adequate ventilation.
Though the dust problem is eliminated by wet-sanding, you still need to allow adequate ventilation so the drywall can dry quickly after wet-sanding.
Sand the Drywall
Now comes the sanding part. To wet-sand drywall, you will take a bowl of water from the bucket of water you got earlier. Then take fine-grit sandpaper like the 150-grit waterproof sandpaper and dip that in the bowl of water. If you are using a sanding sponge, you should do the same.

After dipping the sandpaper in the water, leave it for a few seconds and then take it out of the water. Squeeze the excess water from the sandpaper to reduce the splashes.
Then take the sandpaper and rub the abrasive side against the surface of the drywall. You should move the sandpaper or the sanding sponge in a circular motion while sanding. Ensure to pay attention to where you have sanded and where you haven’t so you don’t over-sand the wood.
You should take breaks regularly while wet-sanding so you can dip the sandpaper or sanding sponge inside the water. The sandpaper needs to stay moist. You can also use this opportunity to rinse the sandpaper in the water.
This will help to prevent the water from getting murky easily. If the water gets murky or muddy, you should pour it out and refill the bowl again. Ensure to sand until you are satisfied with the result.
Expert Tip: Don’t sand the corners within the first coat. You can damage the corners while sanding the surface. You should sand corners only when you finished the whole surface.
Related Read — Can You Wet-Sand Concrete?
Clean the Workspace
When you are satisfied with the sanding result, clean the drywall and let it dry. Unlike dry sanding, you can’t finish the drywall immediately after sanding.
It would help if you had time to let the drywall dry. You should use this time to take out the drop cloth and clean the workspace. Then when the drywall gets dry, you can finish it.
Amazon and the Amazon logo are trademarks of Amazon.com, Inc, or its affiliates.

