
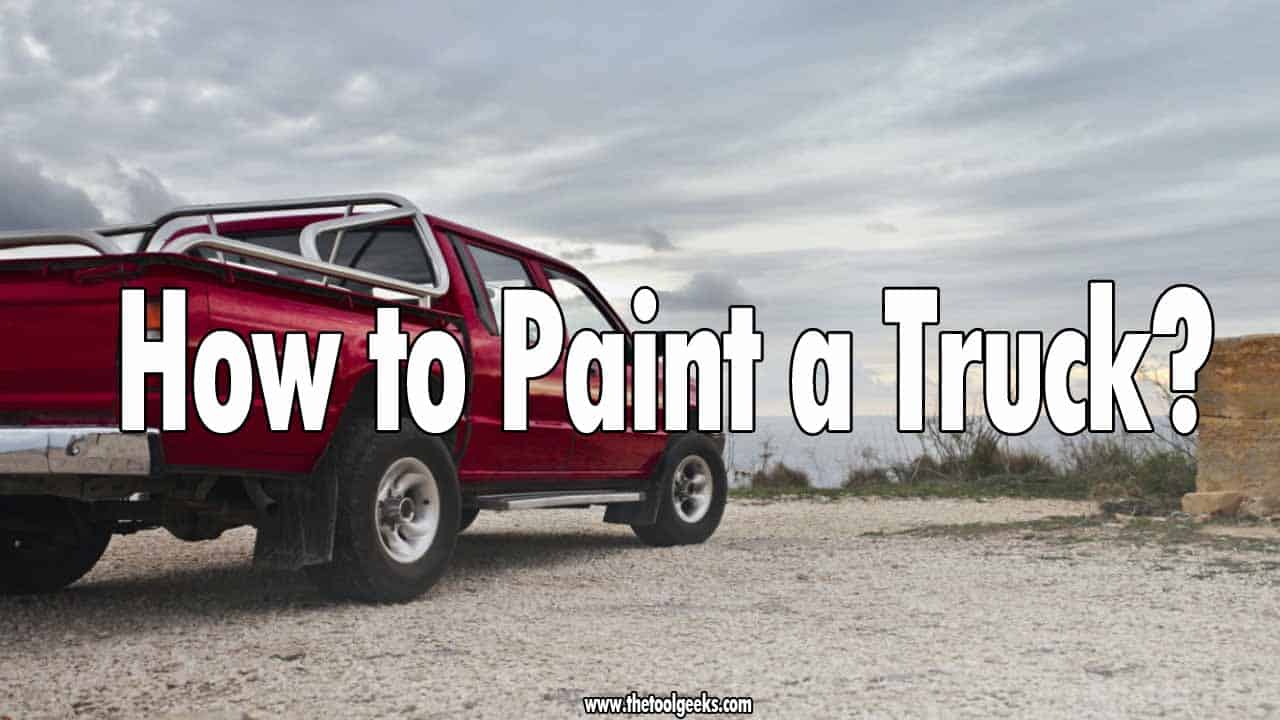
How to Paint a Truck By Yourself: Give Your Truck a New Look!
TheToolGeeks.com is a participant in the Amazon Services LLC Associates Program and other affiliate advertising programs. We may earn from qualifying purchases. (Learn More).
Getting your truck painted is a great way to improve the look and overall performance of the truck. But there is the issue of the cost. A professional car painter or auto-painting company will charge you about three thousand dollars for a good paint job if not more.
Most of us can’t spend that much on painting a truck, so what’s the alternative? The pocket-friendly alternative to hiring a professional car painter is painting the truck by yourself.
Painting your truck by yourself will save you thousands of dollars and if you do a good job, you will still get the same perks as if you hired a professional car painter but there is a challenge.
Painting a truck by yourself is not the easiest of tasks especially if you are inexperienced or if you are working alone. It can take you weeks to fully paint a truck by yourself. Don’t fret though.
This post will introduce you to and explain all you need to know about how to paint a truck by yourself. So if you are ready, let’s get on with it.
[wps_alert type=”secondary”]Read More — Review of Gravity-Feed Spray Guns[/wps_alert]
Can You Paint a Truck Yourself?
You can paint a truck by yourself. If you are looking to save cost, then you should paint the truck yourself. Though painting a truck is different from painting the walls of your home, it’s still a pretty basic task. The main difference between both tasks is that you will need to do way more work when you want to paint a truck.
To paint a truck, the truck needs to be washed thoroughly, the existing finish needs to be stripped off, you need to sand the metal, prime, spray the paint, and then finish.
Not to mention the need for repairs and a clean room for painting. Eventually, you might be spending weeks on the truck depending on how much work needs to be done to prep and then paint the truck. This is the reason professional car painters and auto-painting companies charge thousands of dollars to fully paint a truck.
However, if you aren’t afraid of getting your hands dirty and you fancy a challenge, then you can go ahead to paint the truck by yourself. It would be both a daunting and satisfying task but you should know that the process can be very much time-consuming. So what tools do you need to paint a truck? Let’s take a closer look.
[wps_alert type=”secondary”]Read More — How to Paint a Car?[/wps_alert]
What Tools Do You Need to Paint a Truck?
You will need a lot of tools and supplies to paint a truck. As stated earlier, painting a truck is a lengthy task and this is because of the amount of work that needs to be done before you can grab a paint sprayer to spray. For every step, you will need a few tools and supplies. So here are the tools needed to paint a truck.
1. An Enclosed Space – The first thing you need to have before going ahead with the task is an enclosed space.
2. A Paint Stripping Method – There are tons of stripping methods to use on trucks but the method you use depends on how much paint you need to strip. If you have one or two coats of paint on the truck, you can use an electric or a battery-operated sander and 50-grit sanding discs to get the paint off.
If you are dealing with multiple coats of paint, then a paint stripping compound and a scraper will suffice. If you have enough money, you can get both the stripping compound and the sander. They will both come in handy later on.
3. Plastic Sheets or Drop Cloths – Stripping paint off trucks can be very messy. You need to cover the floors and parts of the truck too. Additionally, you will need masking tape or duct tape, a pair of gloves, a respirator or face mask, and a pair of goggles as safety gear.
4. Auto-Repair Kits – Depending on the condition of the truck, you might need to make repairs. Seeing as trucks are heavy-duty vehicles used to haul and transport goods, the truck would have suffered a dent or two. So you will need to make repairs.
5. Primer – You will need to prime the truck before painting. So you need a primer that can be used on metal or one that is recommended for vehicles. You will need one gallon or two depending on the size of the truck.
6. Paint Thinner – The paint thinner would be used to thin the paint. This is however not necessary in all cases. Some high-quality automotive paints can be used directly from the can while some other types need to be mixed with paint thinner before using them. A paint thinner can be both a preparatory tool and a piece of cleaning equipment as it can be used to remove paint stains while painting.
7. The Paint – For trucks, the most common paint is urethane enamel. Some DIYers also use rust oleum and acrylic paint on trucks.
For a truck, you will need multiple coats of paint. Depending on the size of the truck, you will need about 3-4 gallons of topcoat (urethane enamel) and 3-4 gallons of clear coat (clear coat lacquer). The clear coat is often used on the topcoat so you can achieve a perfectly glossy finish on the truck.
As a pro tip, only get supplies that are recommended for vehicular use or supplies that can be used on metal. Using the wrong products will hamper the resulting finish and we don’t want that. So now that you know the tools needed, how do you paint the truck?
[wps_alert type=”secondary”]Read More — Best Paint Sprayers For Plasti Dip[/wps_alert]
How to Paint a Truck?
The task can be a bit overwhelming at first when you think of all you have to do but the steps below have been carefully drafted and explained to make the task easier. Here are the steps involved in painting a truck by yourself.

The steps involved in painting a truck can be broadly divided into two: The first one is the preparatory phase and then the next is the spraying phase.
The Preparatory Phase
This phase involves everything you need to do to get the truck ready for painting. This includes cleaning, making repairs, sanding, and the likes. Here are the steps involved in this phase.
Secure a Dust-free and Moisture-free Room
You can’t paint a truck in an open space. The paint used on trucks is a dust magnet. If you paint a truck outdoors or in an open space, you will get a very poor result. This is because the elements (wind, dust, debris, and moisture) will affect the curing process of the paint and as a result lead to a poor paint job.
This is why you need an enclosed room like a garage or a shed that you can work in. The garage needs to be clean, dust-free, and moisture-free too to achieve the best possible result. Professional auto painters usually have a room prepped with such requirements but for you, getting a clean room big enough with the required temperature might pose a challenge.
If you have a garage, space will suffice. Just clean the room, remove all obstacles, and block any chance of moisture from getting in. Then park the truck inside and begin work. For this step, you will need some basic cleaning equipment like a broom, a vacuum, a mop, and a dust extractor.
[wps_alert type=”secondary”]Read More — Best Paint Sprayers For Chalk Paint[/wps_alert]
Wash the Vehicle
Trucks usually have a lot of grime, dirt, and possibly rust. You have to remove the dirt and grime from the truck before you can make changes.
This is not your average quick wash. You need to make sure the truck is as clean as possible. You will need a hose, lots of water, detergent, and a scrubbing brush or sponge to wash the vehicle well.
Cover the Areas You Don’t Want to Paint
Before stripping the existing paint off or spraying the primer on the vehicle, you need to use masking tape or duct tape to cover the areas you don’t want to strip or paint. Areas like the trunk, the engine bay, and inner parts of the truck aren’t usually painted. So you should use duct tape and a plastic sheet to cover the needed areas. This step is really important to achieve a detailed finish.
The Next Step Is to Strip the Existing Finish on the Truck
Stripping the paint will expose the dents and imperfections on the body of the truck. It’s also important to strip the existing paint so the new coats can adhere properly. There are different ways to do this. You can choose to use a scraper and a stripping compound, or an electric sander and 50-grit sanding discs.
To strip the existing paint using a sander, start by attaching the sanding disc to the electric sander. Then plug in the sander and gently sand the existing paint. Move the sander in a circular motion and ensure you cover all areas. If you notice the sanding disc you are using isn’t doing a good job anymore, you can switch it for a new disc.
To strip using a scraper and a stripping compound, use the scraper (a metallic putty knife or trowel will suffice) to remove as much paint as you can from the body of the truck.
Then apply the stripping compound to the body of the truck and let it cure. After it has cured, you can easily remove any leftover paint on the truck. As a pro tip, use a plastic sheet to cover the floors before you strip the paint because the process is usually very messy.
Make Repairs
Often, the truck to be painted wouldn’t be in great condition. You will need to repair dents, holes, and chips in the body of the truck before painting.
For this step, you will need a few tools including body filler to cover holes. Luckily, there are different dent repair tool kits sold together in hardware stores. These kits cost between $35 and $100 depending on the product you buy. The repair kits have everything you will need to repair dents and irregularities all packed and ready to go.
If you suspect that you can’t repair the dents and damages by yourself, you should employ an auto-mechanic or a panel beater to make the needed repairs. After making repairs, you might need to sand the truck again. Ensure to sand till you reach the metal frame of the truck.
The Spraying Phase
This phase involves every process that has to do with spraying the truck. This includes spraying the basecoat, the topcoat, and a clear coat.
Prime the Truck
The primer needs to be well mixed and then applied to the body of the truck. You can use a paintbrush, a roller, or a paint sprayer to apply the priming compound.
The primer you will use also depends on the type of finish you are going for. Depending on the size of the truck, you might need more than one gallon of primer.
You will need to read and follow the instructions on the can of the primer so you can apply it correctly. The instructions usually include the correct ratio for application and the type of surface the primer can be used on.
[wps_alert type=”secondary”]Read More — How to Paint Your Bike?[/wps_alert]
Paint The Truck
Here you will need a paint sprayer, paint thinner, and the finish needed. Usually, people go for a glossy finish on the truck.
If that’s what you are going for, then you will also need to apply a few gallons of clear coat lacquer on the topcoat. You should read and follow the instructions on the can of paint so you can apply it correctly.
To paint, mix the paint with paint thinner if needed (remember not all paint needs to be thinned) and prep the paint sprayer. Prepping the paint sprayer includes cleaning the spray gun, inspecting it to be sure it’s in good condition, priming the pump to ensure the paint is flowing, and adjusting the volume of the flow.
After prepping the paint, the truck, and the paint sprayer, you can go ahead to spray. It is advised to leave between 7 and 9 inches of space between the nozzle of the spray gun and the truck.
This allows you to cover more ground quickly and easily. You should also start from the roof of the truck and work your way down. This prevents drips and runs on the surface. It also allows you to keep track of where you have painted and where you haven’t.
You should spray 2-3 coats of topcoat on the truck and the same amount of clear coat for maximum result.
After spraying each coat, you can use fine-grit sandpaper to lightly sand the first coat to improve adhesion. It should take you a few minutes to spray the paint and about an hour for each coat to be dry enough for sanding. After spraying the paint, you can leave the truck to dry well.
[wps_alert type=”secondary”]Read More — How to Remove Paint From Wheels?[/wps_alert]
Pro Tips to Follow When Painting a Truck
Painting a truck is a lengthy task involving lots of preparatory steps and different tools. Without proper guidance, you might not achieve the type of finish you pre-envisioned. So here are some pro tips to guide you on your task.
1) Always Use Products And Tools Recommended For Vehicles – Do not attempt to use products or tools that aren’t fit for the truck. For instance, you can’t use the same paint for your house and your truck.
2) Sand Lightly Between Coats – Urethane paint doesn’t stick to itself as well as other paint types so a bit of sanding is required to let the paint stick better. Also, you will be using multiple coats of paint starting from the base coat or the primer to the clear coat finish. Sanding between each coat with fine-grit sandpaper will increase adhesion and improve the finish.
3) Test Run The Spray Gun And The Spray Volume On A Can Before Moving On To The Truck – Also, take some time to inspect the sprayer while spraying to be sure it’s in good condition. This would prevent painting errors.
4) Spray The Truck Indoors – Do not spray in open space where dust can hamper the curing process and lead to a poor finish.
5) Spray From The Roof Downward – It is advised to start spraying both the paint and the primer from the top of the truck to the base.
6) Use Masking Tape Or Duct Tape For Precision Finish – If there is any part of the truck you wouldn’t want paint on, you should use masking tape to cover the areas. This would make your work neater.
So there you have it. I hope this post proves helpful in carrying out your task. If you have any questions or comments, kindly leave them below and I’ll attend to them as soon as possible. Have a nice painting experience.
[wps_alert type=”secondary”]Read More — How To Strip Acrylic Paint?[/wps_alert]
Amazon and the Amazon logo are trademarks of Amazon.com, Inc, or its affiliates.

We’re a team of engineers, contractors, technicians, and woodworking experts who use power tools daily and share fact-based information, tips, and recommendations. At thetoolgeeks.com, we debunk myths about power tools and share methods to use them effectively.